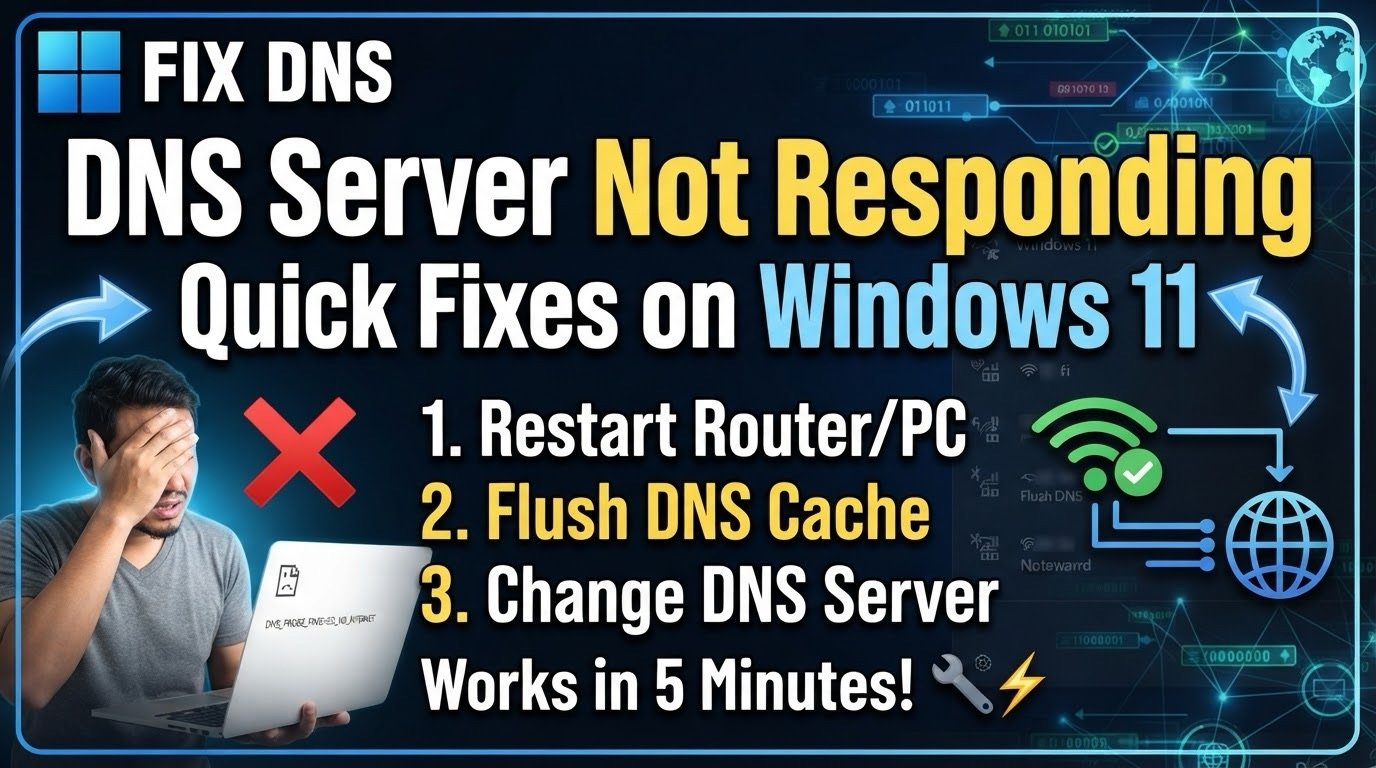
DNS Server Not Responding: Imagine sitting down at your computer to finish an urgent project, open your web browser, and suddenly see a frustrating connection error: “DNS Server Not Responding.” Web pages won’t load, online games get disconnected, and you are completely locked out of the internet. It is a stressful situation that happens to thousands of Windows 11 users every day.
The good news is that this is usually a software glitch, a corrupted cache, or a network configuration issue that you can fix yourself in just a few minutes. You don’t need to call an expensive IT technician or replace your hardware. In this comprehensive guide, we will walk you through the most effective step-by-step methods to fix the DNS server error and get your connection running smoothly again.
What Causes the “DNS Server Not Responding” Error?
Before jumping into the solutions, it helps to understand what is actually happening behind the scenes. Your computer relies on a DNS (Domain Name System) server to translate human-readable website names (like google.com) into computer-readable numerical IP addresses.
When your PC cannot communicate with the DNS server, or if the server fails to reply in time, your browser fails to find the site. Common causes behind this breakdown include:
- Corrupted local DNS cache data stored on your hard drive.
- Faulty or outdated network adapter drivers.
- Incorrect IP address or manual DNS configurations.
- Interference from strict third-party antivirus software or a misconfigured VPN client.
Step 1: Restart Your Router and Modem
Before diving into complex command-line adjustments, always start with the basics. Network hardware frequently gets overloaded, stalls, and simply needs a fresh start.
How to Perform a Hard Power Cycle
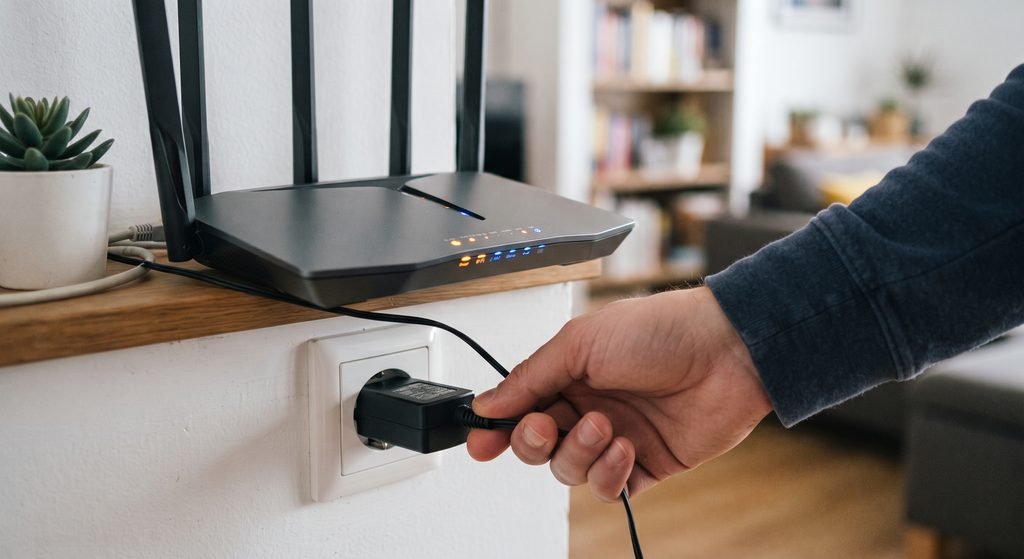
- Unplug both your main internet router and modem completely from the electrical wall outlet.
- Wait for at least 30 seconds to allow the internal residual capacitors to fully discharge.
- Plug the devices back in and wait a minute or two for the indicator lights to stabilize and turn solid.
- Reconnect your Windows 11 PC to the Wi-Fi or Ethernet network and check if the internet works.
Step 2: Flush the DNS Cache
Your computer stores a local history of recently visited website addresses in a system directory known as the DNS cache. If this cache becomes corrupted or bloated, it can completely block your connection. Clearing it forces your system to fetch fresh data.
Clearing Data via Command Prompt
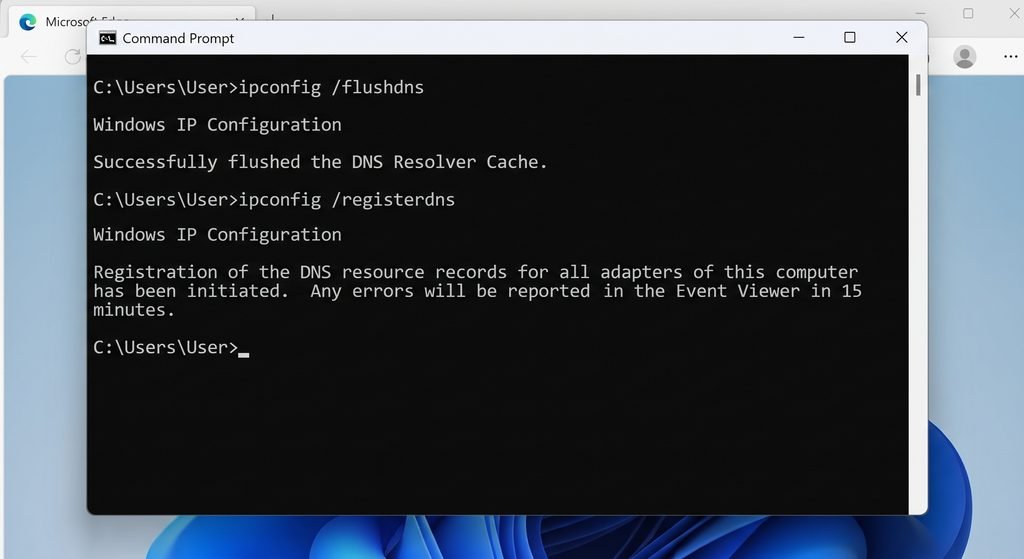
- Press the Windows Key, type
cmdin the search bar, right-click Command Prompt, and select Run as administrator. - Type the following command and press Enter:
ipconfig /flushdns - You should see an immediate success confirmation message: Successfully flushed the DNS Resolver Cache.
- Next, type this command to reset your IP configuration and press Enter:
ipconfig /renew - Close the Command Prompt window and test your web browser.
Step 3: Change Your DNS Server Address
Sometimes, the default DNS server provided by your Internet Service Provider (ISP) goes down, suffers from high latency, or experiences local routing outages. Switching to a public, highly reliable DNS provider like Cloudflare or Google often solves the problem instantly.
Updating Network Settings in Windows 11
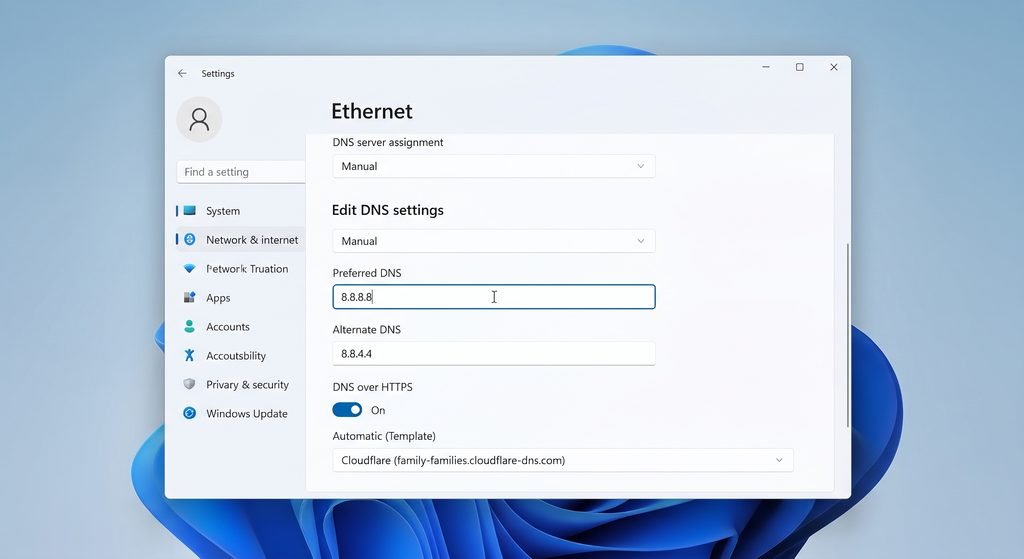
- Press Windows Key + I to open the Windows Settings app.
- Navigate to Network & internet > Wi-Fi (or Ethernet depending on your connection).
- Click on your active network connection properties.
- Scroll down to find DNS server assignment and click the Edit button.
- Change the setting from Automatic (DHCP) to Manual.
- Turn on IPv4 and enter the following reliable public DNS addresses:
- Preferred DNS (Cloudflare / Google):
1.1.1.1(or8.8.8.8) - Alternate DNS (Cloudflare / Google):
1.0.0.1(or8.8.4.4)
- Preferred DNS (Cloudflare / Google):
- Click Save and test your connection stability.
Step 4: Restart the DNS Client Service
Windows runs a background operating system service responsible for resolving and caching DNS names. If this core background service crashes or freezes, all incoming and outgoing DNS queries will fail.
- Press Windows Key + R to open the Run dialog box.
- Type
services.mscand press Enter. - Scroll down through the alphabetical list and look for DNS Client.
- Right-click on it and select Restart (Note: If the option is greyed out, it is normal in newer Windows builds due to system security restrictions).
- Alternatively, you can restart it via Command Prompt as an administrator by running:
net stop dnscachefollowed bynet start dnscache.
Step 5: Update Network Adapter Drivers
Outdated, corrupted, or incompatible network interface card drivers are a very common culprit for sudden connection drops and resolution failures in Windows 11.
- Right-click the Windows Start menu button and select Device Manager.
- Expand the Network adapters section from the list of hardware devices.
- Find your active network card (e.g., Intel Wireless-AC or Realtek PCIe Family Controller).
- Right-click it and choose Update driver.
- Select Search automatically for drivers to let Windows find the latest software.
- If Windows reports that the best driver is already installed, visit your laptop or motherboard manufacturer’s official support website to download and install the latest official driver package.
Frequently Asked Questions (FAQ)
Q: Will changing my DNS server slow down my internet speed?
A: No, switching to public DNS providers like Cloudflare (1.1.1.1) or Google (8.8.8.8) often actually improves your browsing speed and website response times because their global server networks are heavily optimized for speed and reliability compared to standard ISP servers.
Q: What should I do if none of these steps fix the error?
A: If you have flushed your DNS, changed server addresses, and restarted your router without success, the issue might stem from strict firewall configurations, third-party antivirus software blocking network traffic, or a temporary regional outage from your internet provider. Temporarily disabling your third-party antivirus can help isolate the issue.
Q: Can a VPN cause a DNS server error?
A: Yes. If a virtual private network service loses connection mid-session or its internal kill-switch malfunctions, it can leave your computer’s network adapter trapped with incorrect routing configurations, triggering DNS lookup failures.
Disclaimer: This post may contain affiliate links. If you use these links to buy something, we may earn a commission at no additional cost to you. We only recommend products we trust and use ourselves.