How to Deep Clean Your Kitchen Microwave in 5 Minutes Using Lemon

A microwave can look clean at first glance while hiding layers of dried sauce, grease, food splatters, and unpleasant odors. The good news is that you do not need a cabinet full of cleaning products to freshen it up.

One of the simplest methods is to use lemon and water to create steam inside the microwave. The steam helps soften dried food and grease, making the interior much easier to wipe clean. With a few minutes of preparation and wiping, you can give your microwave a noticeably cleaner appearance without aggressive scrubbing.

Here is how to deep clean your kitchen microwave in about 5 minutes using lemon, along with what to do when ordinary wiping is not enough.

Why Lemon Works for Cleaning a Microwave

The main cleaning power in this method comes from hot water and steam, while lemon adds acidity, a fresh scent, and some additional help with greasy or food-covered surfaces.

When water is heated in a microwave-safe bowl, the resulting steam increases moisture inside the enclosed microwave cavity. Dried food particles that have hardened onto the walls can absorb some of that moisture and become softer.

That matters because softened food is generally much easier to wipe away than food that has been baked onto the surface through repeated heating.

Lemon also helps make the microwave smell fresher. This is especially useful if you have recently heated foods with strong odors, such as fish, curry, garlic-heavy dishes, or certain leftovers.

How Lemon Steam Loosens Stubborn Food

Think of the process as a short steam treatment rather than simply “washing” the microwave with lemon.

The basic process is:

  1. Add water and lemon to a microwave-safe bowl.
  2. Heat the mixture until it produces plenty of steam.
  3. Leave the microwave closed briefly so the steam can work.
  4. Wipe the softened residue away with a cloth or sponge.

This approach is useful because it reduces the amount of physical scrubbing required.

What Lemon Can and Cannot Remove

Lemon steam works particularly well for:

  • Dried food splatters
  • Light to moderate grease
  • Sauce residue
  • Food particles stuck to the walls
  • Unpleasant food odors
  • General interior buildup

However, extremely old, thick, or heavily burned-on residue may require more than one treatment.

Lemon water is also not a substitute for repairing damaged microwave surfaces. If the interior coating is badly damaged, peeling, or showing signs of corrosion, cleaning alone will not correct the underlying problem.

What You Need to Clean Your Microwave

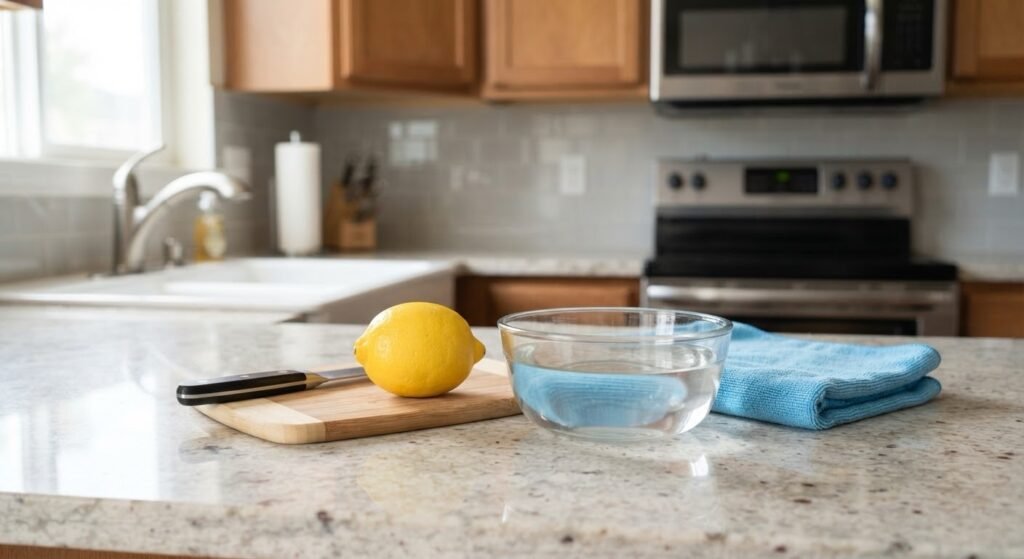
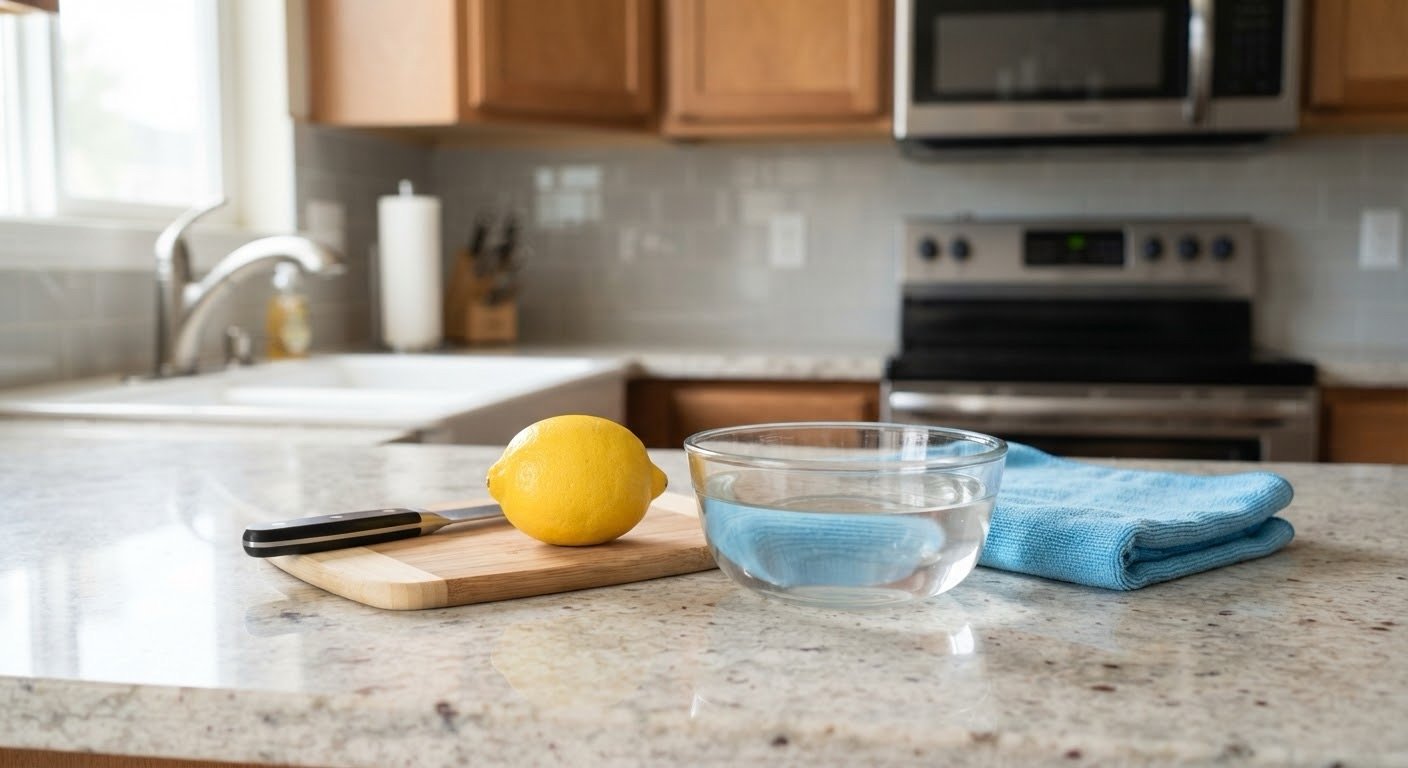
The entire method requires only a few basic items:

  • 1 lemon
  • About 1 cup of water
  • A microwave-safe bowl or measuring cup
  • A clean microfiber cloth or soft cleaning cloth
  • A sponge for stubborn residue
  • A dry towel for finishing

You do not need to add multiple cleaning chemicals.

In fact, keeping the process simple is one of its advantages. Lemon and water are enough for the basic steam-cleaning method.

Before starting, remove anything that does not belong inside the microwave, such as food containers, utensils, packaging, or removable accessories.

How to Deep Clean Your Kitchen Microwave in 5 Minutes Using Lemon

The exact timing can vary depending on your microwave’s power and the condition of the interior. The goal is not to hit an exact number of seconds but to create enough steam to soften the residue.

Step 1: Prepare the Lemon Water

Pour approximately 1 cup of water into a microwave-safe bowl.

Cut one lemon in half and squeeze the juice into the water. You can also place the squeezed lemon halves into the bowl.

The lemon pieces are useful because they release additional lemon oils and aroma as the mixture heats.

Do not fill the container too close to the top. Heated liquid can become very hot, and leaving adequate space helps reduce the chance of splashing.

Step 2: Microwave the Lemon Water

Place the bowl in the center of the microwave.

Heat it for approximately 2–3 minutes, or long enough to produce substantial steam.

Because microwave power levels vary, watch the process the first time you use this method. You are looking for hot, steaming water rather than trying to boil the mixture aggressively.

If your microwave has a very high power setting, you may need less heating time.

Step 3: Let the Steam Work

This is one of the most important parts of the process.

When the heating cycle ends, do not immediately open the door and remove the bowl with your bare hands. The bowl and water can be extremely hot.

Instead, keep the microwave door closed for another minute or so.

The trapped steam will continue to soften dried food and grease on the interior surfaces.

This short waiting period can make the wiping stage considerably easier.

Step 4: Wipe the Interior

Carefully open the microwave door.

If the bowl is still extremely hot, allow it to cool before handling it.

Remove the bowl carefully, then use a clean microfiber cloth or soft sponge to wipe the interior.

Start with the:

  1. Ceiling
  2. Side walls
  3. Back wall
  4. Bottom surface
  5. Inside of the door

Work from the cleaner areas toward the messier areas so you do not spread heavy grease everywhere.

In many cases, residue that previously required hard scrubbing will now wipe away with relatively little effort.

Step 5: Clean the Turntable and Finish

Remove the microwave turntable and wash it separately with warm water and dish soap, following the manufacturer’s care instructions.

Wipe the area underneath the turntable as well. Food particles and grease often collect around the edges and underneath removable parts.

Finally, wipe the inside of the microwave door, including the edges where food splatters may accumulate.

Use a dry cloth to remove excess moisture when you are finished.

For a final touch, wipe the exterior handle and control panel with a suitable slightly damp cloth, taking care not to allow liquid to enter openings around the controls.

How to Remove Stubborn Grease and Dried Food

Sometimes one steam treatment is not enough.

If you still see dried sauce or greasy patches after the first cleaning, avoid immediately reaching for a harsh abrasive cleaner.

Instead, try the following approach:

  1. Repeat the lemon-steam process.
  2. Allow the steam to sit inside the closed microwave for another short period.
  3. Use a soft damp sponge or microfiber cloth.
  4. Gently work on the remaining residue.
  5. Repeat rather than aggressively scrubbing the surface.

The key is to soften the residue before trying to remove it.

For example, a dried tomato sauce splatter that has been reheated several times may have become hard and brittle. Trying to scrape it off immediately can require unnecessary force and may damage the interior surface. Moisture and patience are usually a better first approach.

If grease remains after steaming, a small amount of ordinary dish soap on a damp cloth can help with the oily residue. Wipe the surface afterward with a clean damp cloth to remove soap residue.

Common Microwave Cleaning Mistakes to Avoid

A quick cleaning can become less effective—or potentially unsafe—if a few basic precautions are ignored.

Do Not Heat Lemon Water in a Sealed Container

Never microwave a tightly sealed container of liquid.

Steam needs room to escape. Use a microwave-safe container that is appropriate for heating liquids and do not cover it with an airtight lid.

Be Careful With Hot Water

The water and container can become very hot.

Handle the bowl carefully and consider using an oven mitt or heat-resistant glove when removing it.

Do not assume that because the water is not visibly boiling, it is safe to touch.

Do Not Scrub With Abrasive Materials

Avoid steel wool, harsh scouring pads, or other abrasive materials that can scratch or damage the microwave’s interior surface.

A soft cloth or non-abrasive sponge is a better starting point.

Do Not Pour Cleaning Liquid Directly Into the Microwave

The microwave is an electrical appliance. Do not spray or pour liquid directly onto the interior or around the control panel.

Apply moisture to your cloth or sponge instead.

Do Not Ignore the Microwave’s Manufacturer Instructions

Different microwave models can have different care recommendations.

If your owner’s manual gives specific instructions about cleaning products, interior surfaces, turntables, or other components, follow those instructions.

How to Keep Your Microwave Cleaner for Longer

Deep cleaning becomes much easier when food splatters do not have time to build up.

One of the simplest habits is to wipe spills shortly after they happen, once the microwave and surfaces are safe to handle.

You can also reduce future messes by covering foods that are likely to splatter.

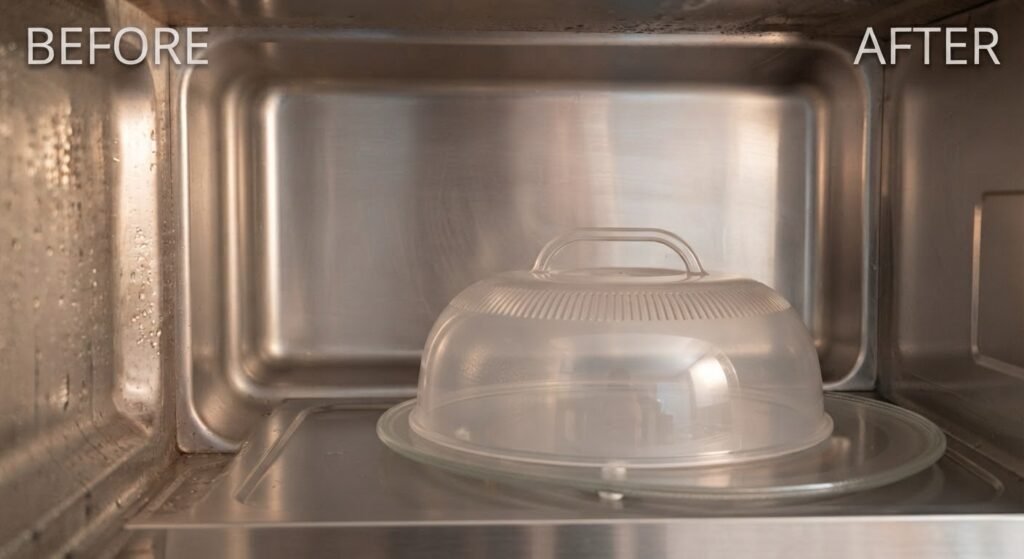
A microwave-safe cover can help contain sauces, soups, and other foods while they heat. Make sure the cover is specifically designed for microwave use and is used according to its instructions.

Another useful habit is checking the ceiling of the microwave during cleaning. People often focus on the bottom and side walls while forgetting that food can splatter upward.

A quick wipe after messy meals can prevent small spots from becoming stubborn buildup.

A Simple 5-Minute Microwave Cleaning Routine

If you want to keep the process simple, use this routine whenever your microwave needs a refresh:

Minute 1: Add water and lemon to a microwave-safe bowl.

Minutes 2–4: Heat the lemon water until the microwave interior becomes steamy, then allow the steam to sit briefly.

Minute 4: Carefully remove the bowl and wipe the ceiling, walls, door, and bottom.

Minute 5: Remove and wipe the turntable and quickly check for remaining residue.

The exact timing is an approximate routine rather than a guarantee. A heavily soiled microwave may take longer, while a lightly used microwave may need only a quick wipe.

The important part is the sequence: steam first, wipe second.

That simple change can make microwave cleaning much less frustrating.

Frequently Asked Questions

Q. Can I clean a microwave with just lemon and water?

A. Yes. Lemon and water can be heated in a microwave-safe container to create steam that helps loosen food residue and light grease. The steam does much of the practical cleaning work, while lemon adds acidity and helps freshen the smell.

Q. How long should I microwave lemon water for cleaning?

A. Around 2–3 minutes is a practical starting point for approximately 1 cup of water, but the appropriate time depends on the microwave. The goal is to generate plenty of steam rather than follow an exact time at all costs.

Q. Do I need to use vinegar with lemon?

A. No. Lemon and water are sufficient for this basic cleaning method. Adding multiple cleaning ingredients is unnecessary, and you should avoid mixing household cleaning chemicals unless the product instructions specifically say it is safe.

Q. What if the dried food does not come off after steaming?

A. Repeat the steam treatment and allow the microwave to remain closed briefly afterward. Then use a soft damp cloth or non-abrasive sponge to gently loosen the remaining residue. Very old buildup may require several passes.

Q. Can I use lemon to remove bad smells from a microwave?

A. Lemon can help freshen the smell of a microwave, particularly after heating strongly scented foods. If an odor remains after cleaning, check for hidden food residue around the turntable, door edges, and other areas where splatters may collect.

Q. How often should I deep clean my microwave?

A. It depends on how frequently you use it and how much food splatters during cooking. A quick wipe after messy spills can reduce the need for frequent deep cleaning. Use the lemon-steam method whenever dried residue or odors begin to build up.

Conclusion

A microwave does not need an elaborate cleaning routine to look and smell fresh. Lemon and water provide a simple way to create steam that loosens dried food and light grease, making the actual wiping much easier.

For the most effective routine:

  1. Add lemon and water to a microwave-safe bowl.
  2. Heat it until the microwave becomes steamy.
  3. Let the steam sit briefly.
  4. Carefully remove the bowl.
  5. Wipe the softened residue with a soft cloth or sponge.
  6. Clean the turntable separately.

The biggest time-saving trick is not scrubbing harder—it is softening the mess before you wipe it. Once you make that step part of your regular kitchen routine, even a messy microwave can usually be brought back to a much cleaner condition with very little effort.