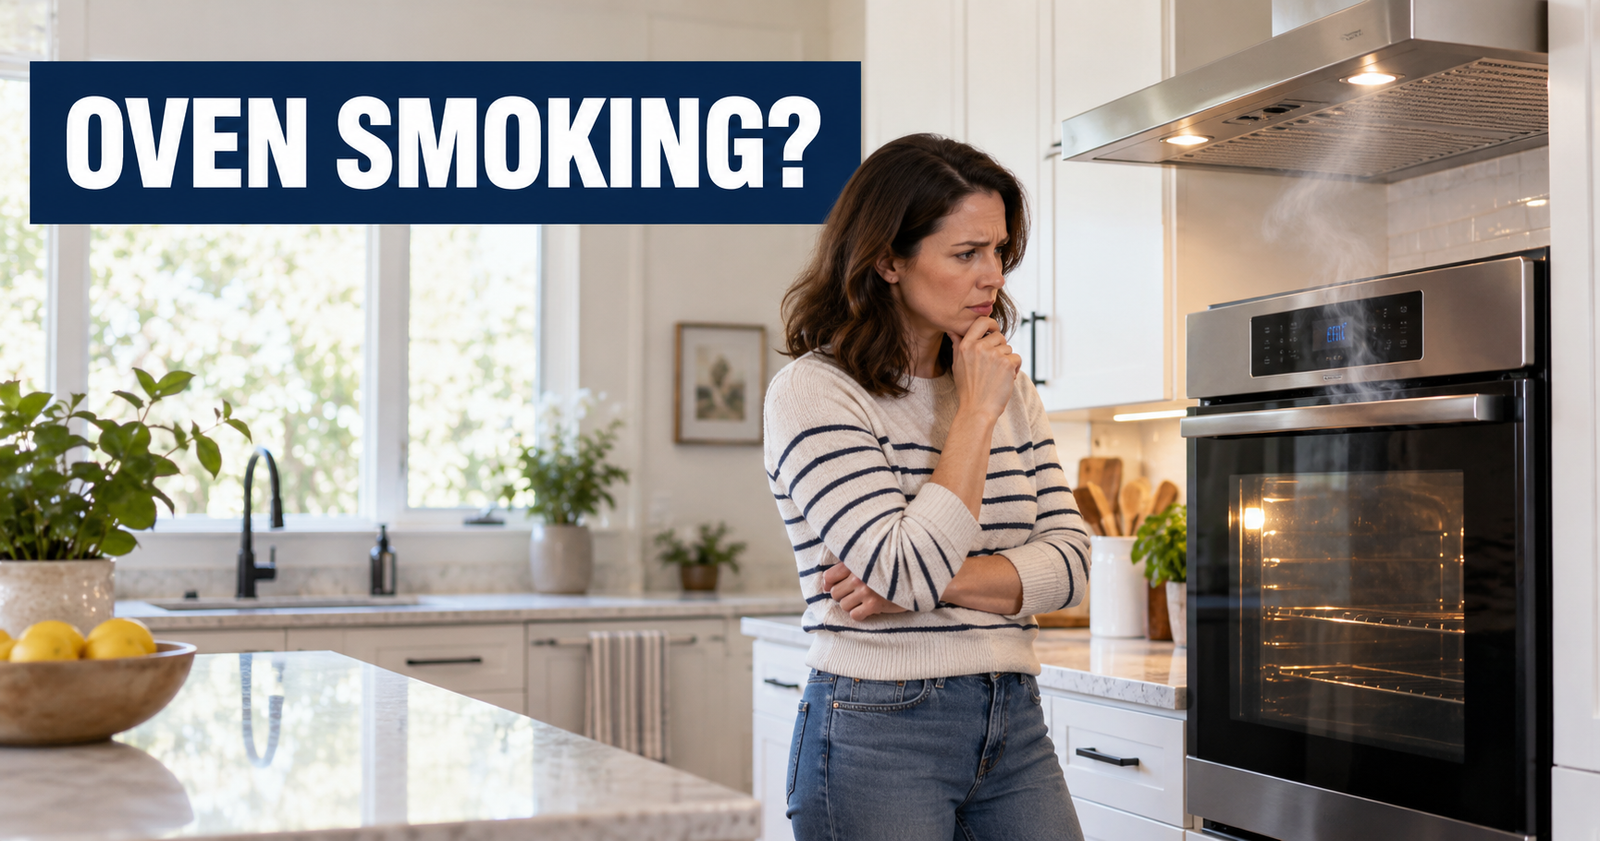
An oven that smokes during preheating often has grease, food residue, or leftover cleaner heating inside the cavity. A new oven may also release a light haze or odor during its initial heating cycle. These situations are different from thick smoke, visible flames, sparks, a burning-wire smell, or a natural-gas odor—all of which require you to stop using the appliance.
Before replacing a heating element or another part, note when the smoke begins, where it appears to originate, and whether the oven was recently used, cleaned, or installed. Those clues can often separate a removable residue problem from one that requires service.
Stop Immediately if You Notice These Warning Signs
Turn the oven off if the smoke becomes heavy, you see flames, or the odor resembles melting plastic or burning electrical insulation.
If there is a fire inside the oven, keep the door closed and turn off the heat. Opening the door can supply more oxygen to the fire. Do not throw water into the oven. Leave the home and call 911 if flames escape the appliance, the fire continues, or you cannot safely remain inside. The U.S. Fire Administration’s cooking-safety guidance also advises keeping an oven closed while an oven fire is contained inside.
If you smell the rotten-egg odor associated with natural gas, leave immediately. Do not operate lights, appliances, switches, or a phone while inside. Call 911 and your gas utility from a safe location. Do not return until emergency personnel say it is safe.
Stop using the oven and arrange qualified service if:
- Smoke comes from the control panel, wiring area, or behind the appliance.
- An electric element sparks, arcs, blisters, or appears physically damaged.
- The oven repeatedly trips its circuit breaker.
- A gas oven produces soot or an abnormal flame.
- You cannot identify the source after the oven has been cleaned.
- The door, liner, wiring, or internal insulation appears damaged.
Renters should report these conditions to the landlord or property manager instead of removing panels or attempting an internal repair.
Match the Smoke to What Happened Before It Started
Smoke color alone is not a reliable diagnosis. Its timing, location, and odor usually provide more useful clues.
| What you notice | Possible explanation | First action |
| Smoke rises from the oven floor | Burned food, grease, or a sugary spill | Let the oven cool and inspect the bottom surface |
| Smoke starts after cleaning | Cleaner or loosened residue remains | Rewipe the approved surfaces with a clean damp cloth |
| A new oven produces light haze or an oily odor | Manufacturing residue may be heating off | Check for packaging and follow the initial-use instructions |
| Smoke appears mainly during broiling | Grease splatter or food may be too close to intense heat | Turn off the broiler and review rack and pan placement |
| Smoke comes from an element or control area | A component or electrical problem may be present | Stop using the oven and arrange service |
| Smoke accompanies a gas odor or soot | A combustion or gas-supply problem may be present | Leave if gas is suspected and seek professional help |
Check for Food and Grease Residue
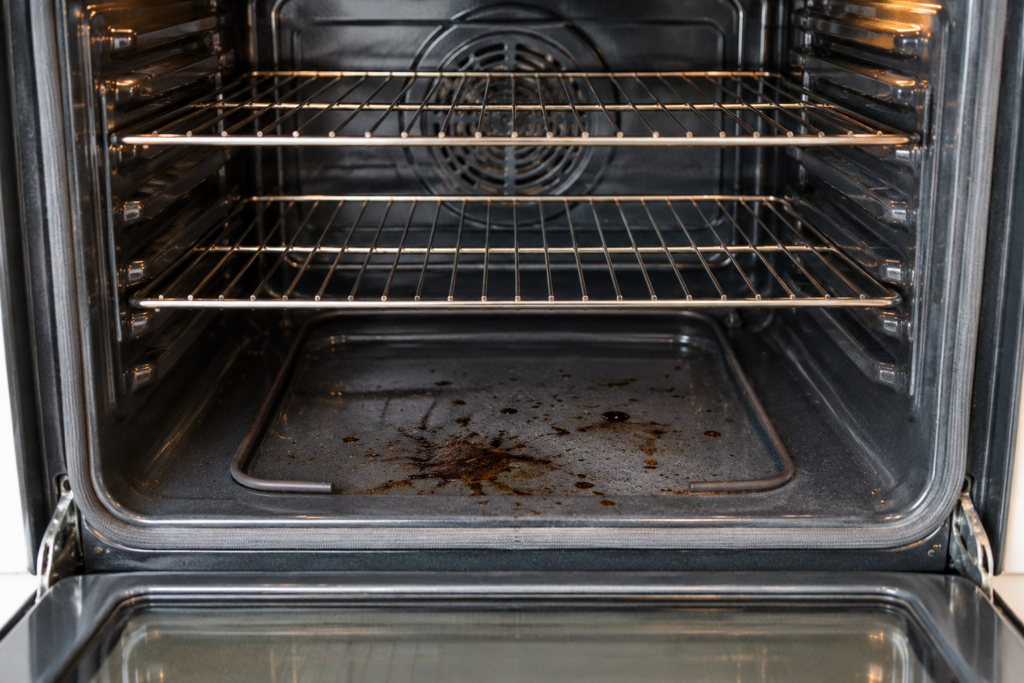
A spill can remain unnoticed until the next preheat cycle. Grease, cheese, batter, crumbs, and sugary liquids may smoke as the oven temperature rises, even if the oven looked reasonably clean after the previous meal.
Wait until the oven is completely cool. Remove the racks if your manual permits, and use a flashlight to inspect:
- The oven floor or removable bottom panel
- The underside of the racks
- The sidewalls and corners
- The area around the broiler
- The inside surface of the door
- Any removable tray specified in the manual
Some ovens have a concealed lower heating element, while others expose the element inside the cavity. Do not pry up a fixed bottom panel or remove screws simply to look underneath it.
Remove loose debris gently. Clean only with a method approved for the oven’s interior finish. Avoid metal scrapers or abrasive pads that could scratch enamel, and do not spray liquid directly into vents, igniter openings, fans, sensors, or electrical components.
Do not place aluminum foil or an unapproved liner directly on the oven floor. Depending on the model, it can interfere with airflow or heat distribution and may damage the interior surface.
Remove Cleaner Residue Carefully
Smoke that begins after cleaning may come from cleaner that was not completely removed. This can happen when a product collects in a corner, remains on the door, or mixes with grease that was loosened but not wiped away.
Once the oven is cool:
- Read the cleaning section of the owner’s manual.
- Remove any remaining loose material with a soft cloth.
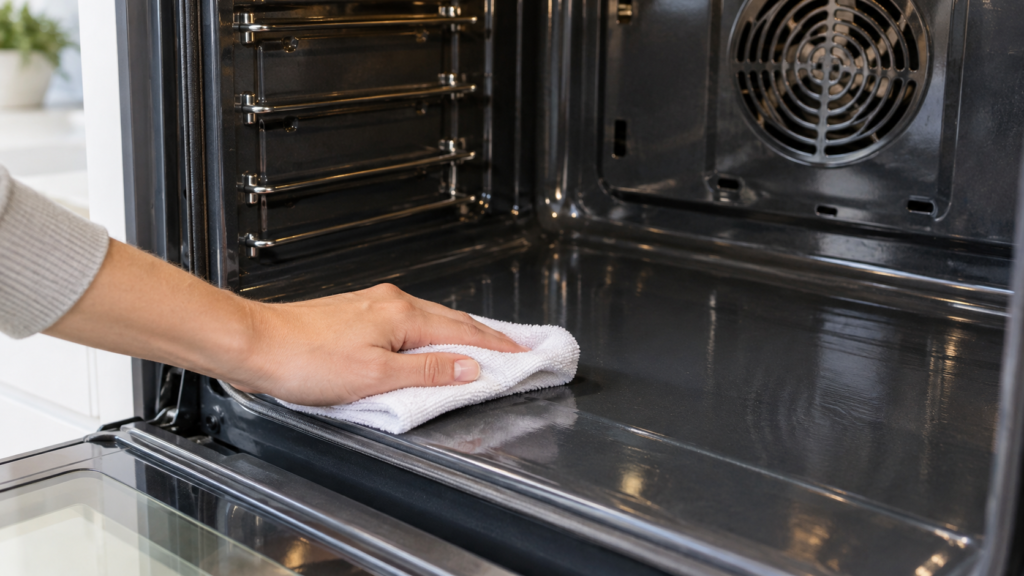
- Wipe approved interior surfaces with a clean, damp cloth.
- Rinse the cloth frequently rather than spreading residue around.
- Dry the surfaces before reinstalling the racks.
Never mix cleaning products. Do not assume that a household ingredient or commercial oven cleaner is suitable for every enamel coating, catalytic liner, steam-cleaning oven, or self-cleaning oven.
Consider What Was Being Cooked
An oven may be clean enough for ordinary baking but smoke when high-fat food is roasted or broiled. Fat can splatter, overflow a shallow pan, or reach a hot surface.
Check whether:
- The pan was too small for the food or liquid.
- Grease overflowed an edge.
- Food was positioned unusually close to the broiler.
- Parchment paper, packaging, or another material contacted a heating element.
- A pan or oven-safe liner was used in a way the manufacturer does not allow.
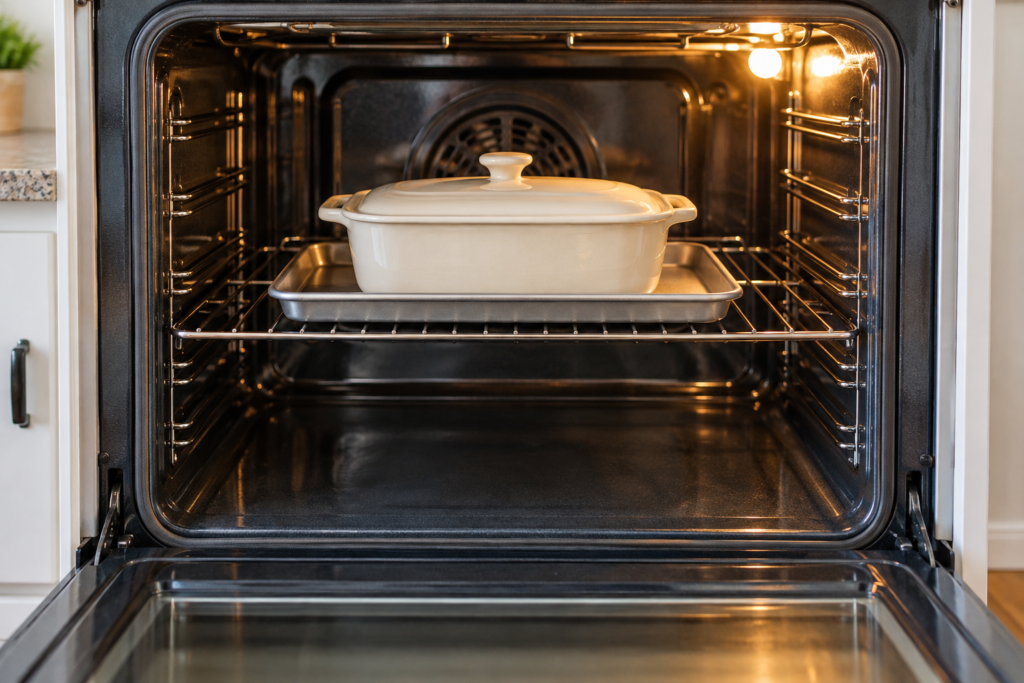
Use cookware that can contain the expected drips and expansion. Place a suitable pan on a rack rather than directly on the oven floor. Do not cover vents or block airflow, and follow the oven manual for rack placement when broiling.
Check a New Oven for Packaging and Initial-Use Instructions
A small amount of smoke or odor can occur during the first uses of a new oven as manufacturing materials heat for the first time. GE Appliances and Whirlpool both describe this as a possible initial-use condition, but the recommended burn-off procedure varies by model.
Before running a new oven:
- Remove cardboard, plastic film, foam, tape, ties, manuals, and accessories that are not intended to remain inside.
- Inspect the oven cavity, racks, storage drawer, and surrounding trim.
- Read the model’s installation and initial-use instructions.
- Ventilate the kitchen as directed.
- Do not select a temperature or cycle based on instructions for a different oven.
Follow the manufacturer’s procedure rather than using a universal temperature or duration. GE Appliances’ new-oven guidance confirms that recommendations differ between self-cleaning and standard- or steam-cleaning models.
Manufacturers also warn that some birds are especially sensitive to fumes produced during initial heating or self-cleaning. Follow the owner’s manual and move birds to a separate, closed, well-ventilated room before running such a cycle.
Do Not Use Self-Clean as the First Diagnostic Step
A self-cleaning cycle operates differently from ordinary baking and can heat existing residue intensely. If the oven is already producing unexplained smoke, do not start self-clean simply to see whether it solves the problem.
First allow the oven to cool, identify the apparent source, and manually remove loose food or heavy grease as directed by the manufacturer. Use self-clean only if:
- The oven manual permits it.
- Packaging, excessive debris, and major spills have been removed.
- No component appears damaged.
- There is no gas odor, electrical smell, sparking, or active malfunction.
- You can provide the ventilation and supervision specified by the manufacturer.
Steam-clean, standard-clean, catalytic, and self-cleaning interiors have different care requirements. The control label alone is not a substitute for the model-specific manual.
Inspect What You Can See Without Removing Parts
After residue and cooking conditions have been ruled out, look for visible abnormalities while the oven is off and completely cool.
On an electric oven, an exposed element should not be cracked, blistered, separated, or marked by an obvious burned spot. Some ovens conceal one or more elements, so their condition cannot be evaluated visually.
On a gas oven, do not handle the igniter, burner, gas connection, or safety controls. Soot, delayed ignition, repeated unusual noises, or persistent smoke after cleaning should be evaluated by a qualified appliance technician.
Do not remove the rear panel, control panel, built-in oven trim, or fixed cavity panels. Smoke originating behind those areas may involve wiring, insulation, ventilation, or another component that is not appropriate for routine DIY troubleshooting.
Test the Oven Only After a Removable Cause Is Found
A test is reasonable only when you found an ordinary spill or cleaning residue, removed it using the approved method, and observed no warning signs.
Reassemble the oven according to the manual, ventilate the room, and remain nearby while it begins heating. Stop the test if smoke returns, an unusual odor develops, or the oven behaves differently from normal.
Do not disable the smoke alarm during testing. If the oven remains clean but continues smoking, additional heating cycles are not a substitute for diagnosis.
When Professional Service Is the Safer Next Step
Contact the manufacturer, a qualified appliance technician, or your landlord when:
- Cleaning does not stop the smoke.
- The source appears to be an element, wire, control, fan, vent, or concealed area.
- The appliance shows an error code together with smoke or overheating.
- The oven does not regulate temperature normally.
- A component looks burned, melted, cracked, or deformed.
- A gas appliance produces soot, abnormal combustion, or a persistent unusual odor.
- You are uncertain whether the oven is safe to test again.
Record the brand, model number, error code, and circumstances in which the smoke appears. This information can help a technician identify the correct documentation and parts without relying on a visually similar oven.
Reduce the Chance of Smoke Returning
Use a pan large enough to contain grease and bubbling liquids, and check for spills after the oven has cooled. Clean residue before it goes through repeated heating cycles.
Keep foil, parchment, food packaging, and oven liners away from heating elements and vents. Use only materials and placements allowed by the cookware and oven manufacturers.
Include the oven in your seasonal home maintenance checklist by checking the door gasket, interior condition, controls, and manual-recommended cleaning needs.
Conclusion
When an oven smokes during preheating, begin with the previous spill, cleaning session, meal, or installation rather than assuming a part has failed. Remove only accessible residue using the model-approved method. Heavy smoke, fire, sparks, a gas odor, or smoke from a concealed component means the oven should remain off until the cause is professionally evaluated.