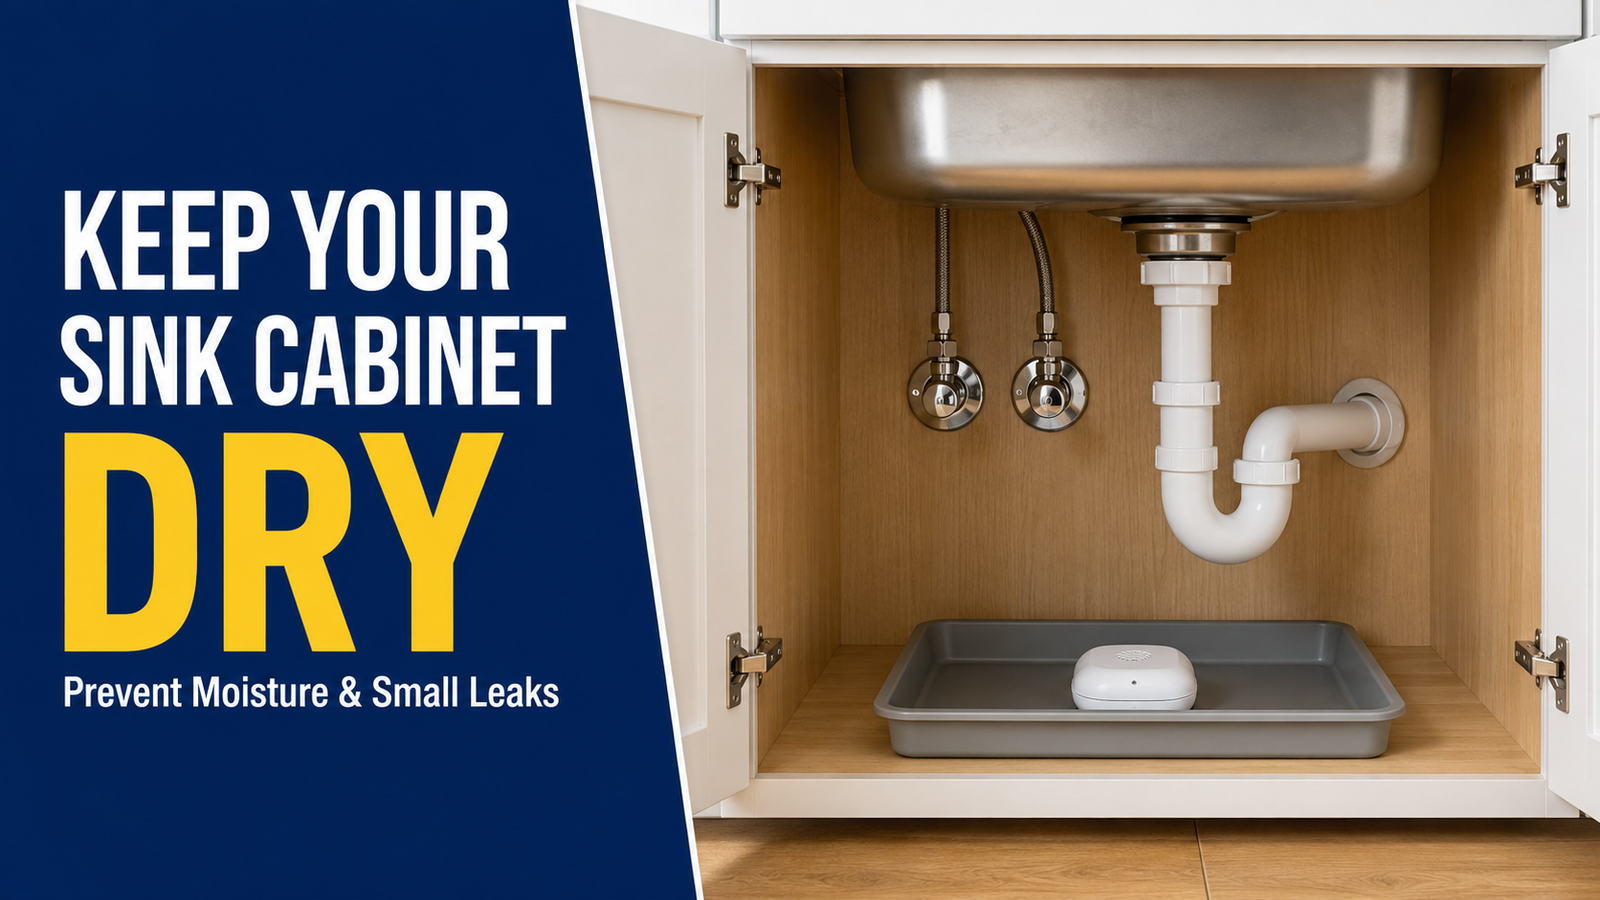
To prevent moisture under the kitchen sink, repair drips promptly, protect hoses and drain connections from strain, and control condensation on cold pipes. Keep the cabinet easy to inspect, and use a removable waterproof tray and a properly positioned water alarm as extra protection.
If the cabinet is already damp, find the source before covering the base or adding a moisture absorber. Supply leaks, drainage leaks, splashes, and condensation require different responses.
Find the Source of Moisture Under the Kitchen Sink
Empty the cabinet and lift out any removable liner. Use a flashlight to inspect the floor, back panel, and accessible plumbing without pulling on hoses.
For an active supply leak, close the appropriate shutoff if you can do so safely. Do not force a stuck valve. If water keeps escaping, use the home’s main shutoff if you can safely identify and operate it, and call a plumber.
If water has reached powered equipment, cords, or outlets, stop the inspection and get qualified help. The Consumer Product Safety Commission advises against touching wet appliances that remain connected to electricity.
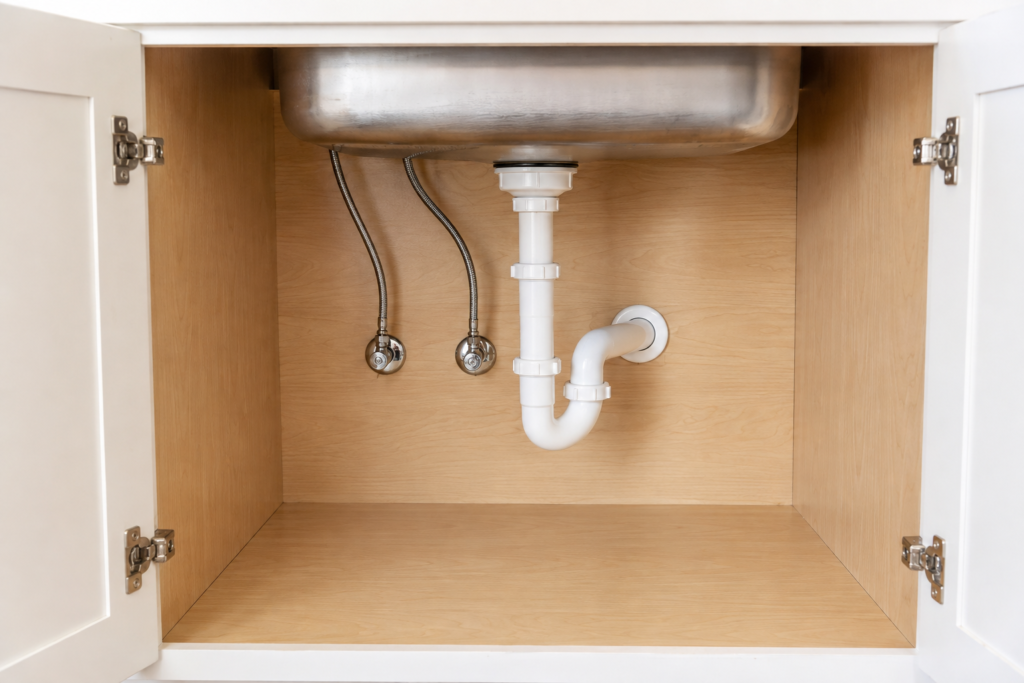
Use these patterns to choose where to look first. They are clues rather than proof, because water can travel along a hose or pipe before dripping.
- Fresh drips while the faucet and appliances are off: Inspect shutoff valves, pressurized supply connections, and water-filter feeds, if fitted.
- Wetness while the faucet runs: Check faucet hoses and sprayer connections, along with the drain carrying water.
- Drips when a filled sink empties: Inspect the basket strainer, drain joints, P-trap, and disposal connections.
- Water after splashing around the sink: Check the sink rim, faucet base, and countertop seams above the wet area.
- Moisture when the dishwasher drains: Inspect its drain hose and the connection to the sink drain or disposal.
- Beads spread across a cold pipe: Consider condensation, while also checking for a localized leak nearby.
Moen’s troubleshooting guidance similarly distinguishes continuous supply-side leaks from faucet-hose leaks that appear during use. The exact connections vary by faucet.
Check One Water Path at a Time
For a small, unexplained damp patch with no electrical hazard or uncontrolled leak, check in this order. Stop as soon as you find a leak.
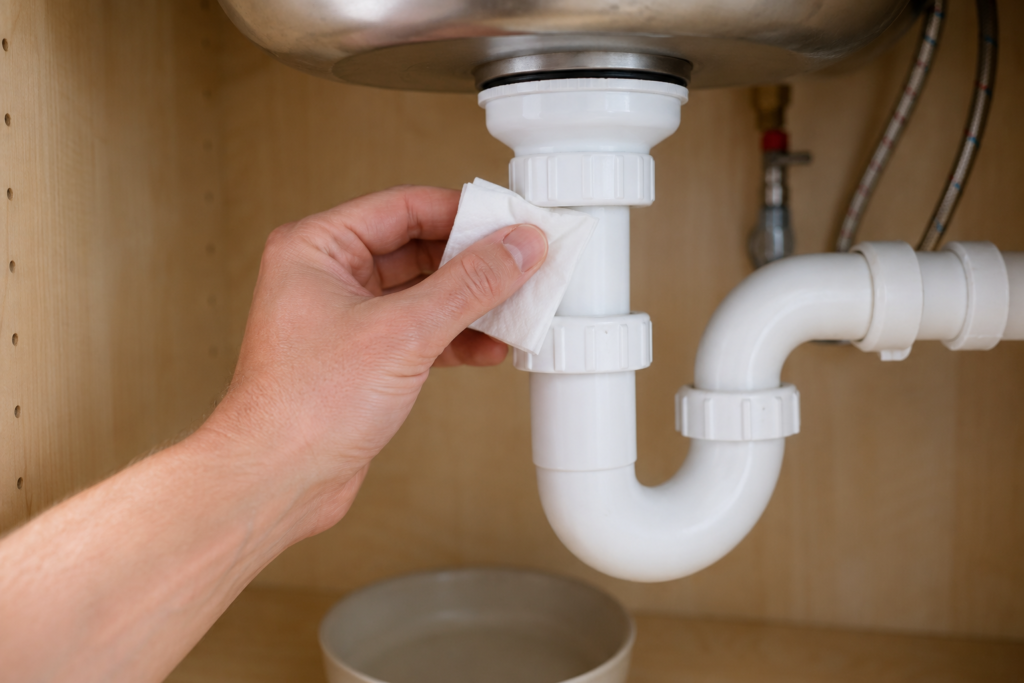
- Dry the accessible surfaces. Wipe the cabinet and plumbing, then place a shallow container beneath the suspected drip.
- Observe with the faucet off. Use a clean white tissue to dab accessible joints and locate fresh moisture.
- Run the faucet gently. Keep the countertop dry. If there is a pull-down sprayer, move it through its normal range while watching the hose below.
- Check drainage if the earlier checks stay dry. Hold a shallow amount of water in the sink, then release it while someone watches underneath.
Trace the first wet spot upward before deciding which part is leaking. Remove testing tissues afterward, and recheck the area after any repair and subsequent normal use.
Keep Small Leaks From Returning
Give supply hoses room to follow their natural curves. Keep bottles, bins, and trash cans from pushing against drainpipes. A pull-down faucet’s hose and weight also need room to move freely; rearrange storage if they catch on anything.
Look for damaged hose coverings, corrosion, and fresh moisture around connections. Mineral deposits can mark previous seepage, but they do not establish whether a leak is still active. Check for new wetness after drying the area.
Avoid tightening every fitting as routine maintenance. On typical slip-joint drain connections, the washer and pipe alignment create the seal. A leaking joint may need correct reassembly or a replacement washer. As Oatey’s P-trap installation guidance explains, excessive tightening can crack plastic fittings or damage threads. Follow the instructions for the actual fitting.
Before loosening a supply connection, shut off its water supply and relieve pressure according to the equipment’s instructions. Damaged supply hoses need compatible replacements; repair methods and tightening requirements vary. Get a plumber’s help if you cannot isolate the water, identify the connection, or work without straining adjacent pipes.
Above the cabinet, wipe up standing water around the faucet and sink rim. Investigate gaps or separation in seals. Any resealing should follow the sink and countertop manufacturers’ material and curing instructions. A moving or sagging sink needs its mounting checked.
For a disposal, check whether water is tracking down from a higher connection. InSinkErator’s leak troubleshooting guide recommends seeking further assistance when leakage originates in the disposal body or bottom.
Persistent drips, water emerging from the wall, or inaccessible leaks also warrant a plumber. Renters should report the problem to the property manager before altering plumbing.
Control Condensation and Dry the Cabinet
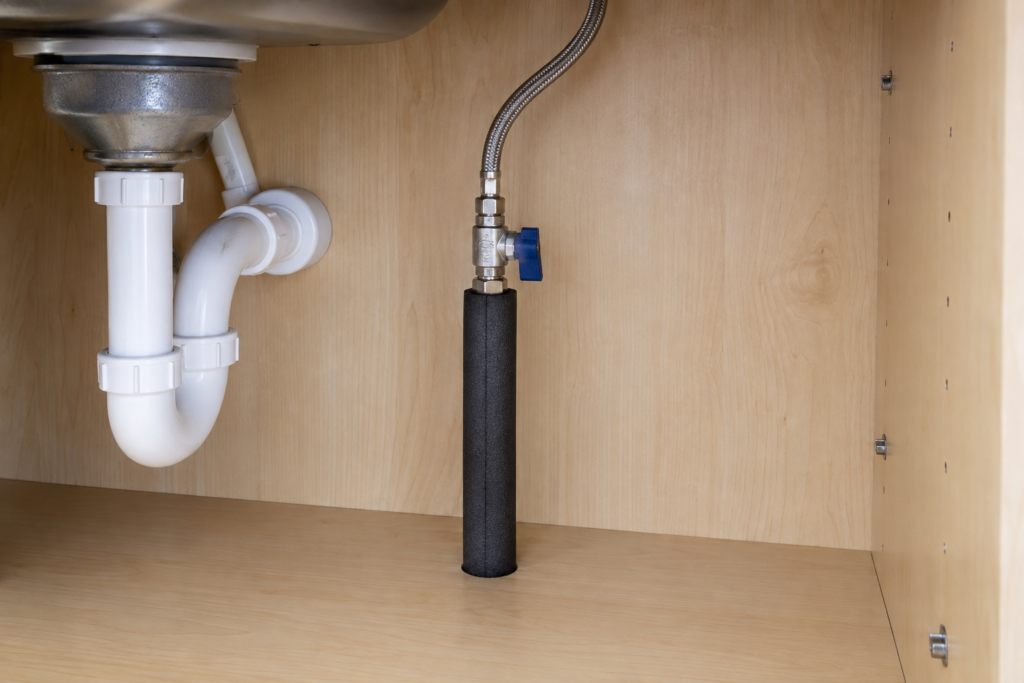
Condensation can form when humid air contacts a cold pipe. Once leaks are ruled out, these measures may help:
- Measure indoor relative humidity. EPA recommends keeping it below 60%, ideally between 30% and 50%.
- Use kitchen ventilation that exhausts outdoors and a dehumidifier when needed.
- Fit suitable insulation to sound cold-water pipes, following its installation instructions and keeping shutoffs operable.
After a leak or spill, begin drying immediately. The EPA recommends drying water-damaged areas and items within 24–48 hours to help prevent mold growth. That is a drying goal, not a reason to delay cleanup.
Remove wet stored items and leave the emptied cabinet open while it dries, keeping children and pets away. Avoid covering damp panels with a new liner or coating.
Make New Leaks Easy to Spot
Once the cabinet is dry and the source is addressed, arrange it so the floor and connections remain visible.
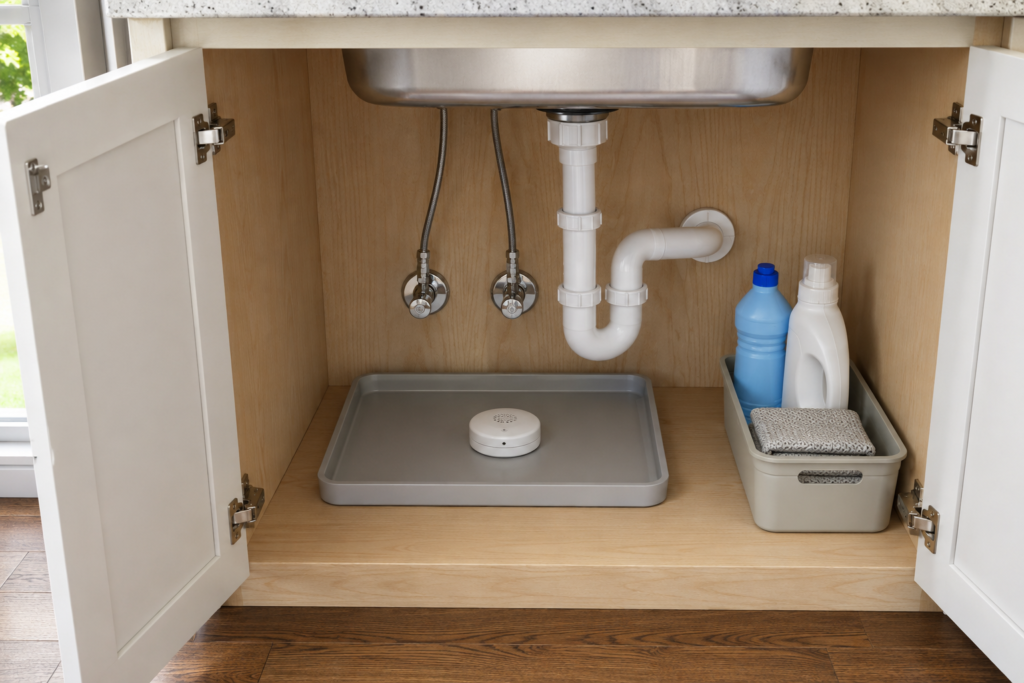
Choose a removable tray with a raised edge. It can catch small drips within its footprint. Check beneath it when inspecting the cabinet; water can collect outside the tray or underneath it. Absorbent towels are useful for cleanup but can conceal an ongoing leak when left in place.
Position a water leak detector where water will collect. Follow its placement instructions, keeping the sensing contacts unobstructed. If the tray contains the water, a sensor underneath the tray may stay dry. Place the sensor or its probe inside the collection area as the device allows.
A basic moisture alarm provides a warning; automatic water shutoff requires a system with that capability. The EPA WaterSense overview of leak detection technologies explains these differences. Follow the manufacturer’s testing and battery instructions.
Keep stored items away from the plumbing. Use containers that lift out easily, and store wet sponges or cloths somewhere they can dry.
Tie inspections to activities you already do: glance at the cabinet floor when retrieving supplies, and check connections after plumbing work, filter changes, or rearranging storage. Pay attention to new stains and recurring dampness even when no puddle is visible.
Frequently Asked Questions
Q. Should I put a moisture absorber under the kitchen sink?
A. Treat it as optional humidity control after repairing leaks and drying the cabinet. It cannot stop escaping water or resolve hidden water damage. Follow the product label and keep the container secure from children and pets.
Q. Can plumber’s tape stop a leaking P-trap connection?
A. Typical slip-joint P-traps seal with washers. Thread tape does not replace a damaged or incorrectly seated washer. Check the fitting’s design and follow its assembly instructions; other types of threaded plumbing connections have different requirements.
Q. Why does the cabinet still smell musty after the leak is fixed?
A. Moisture may remain underneath the base or behind the cabinet. Check accessible surfaces. Persistent odor, swollen panels, or suspected hidden mold warrants professional assessment before covering or refinishing the area.
Conclusion
Start with a dry cabinet and trace where water first returns. Address that source, control condensation where needed, and keep the plumbing visible so a new drip is easy to catch.
If the moisture is coming from movement around the fixture, this guide to fixing a loose kitchen faucet explains what to inspect before tightening anything.