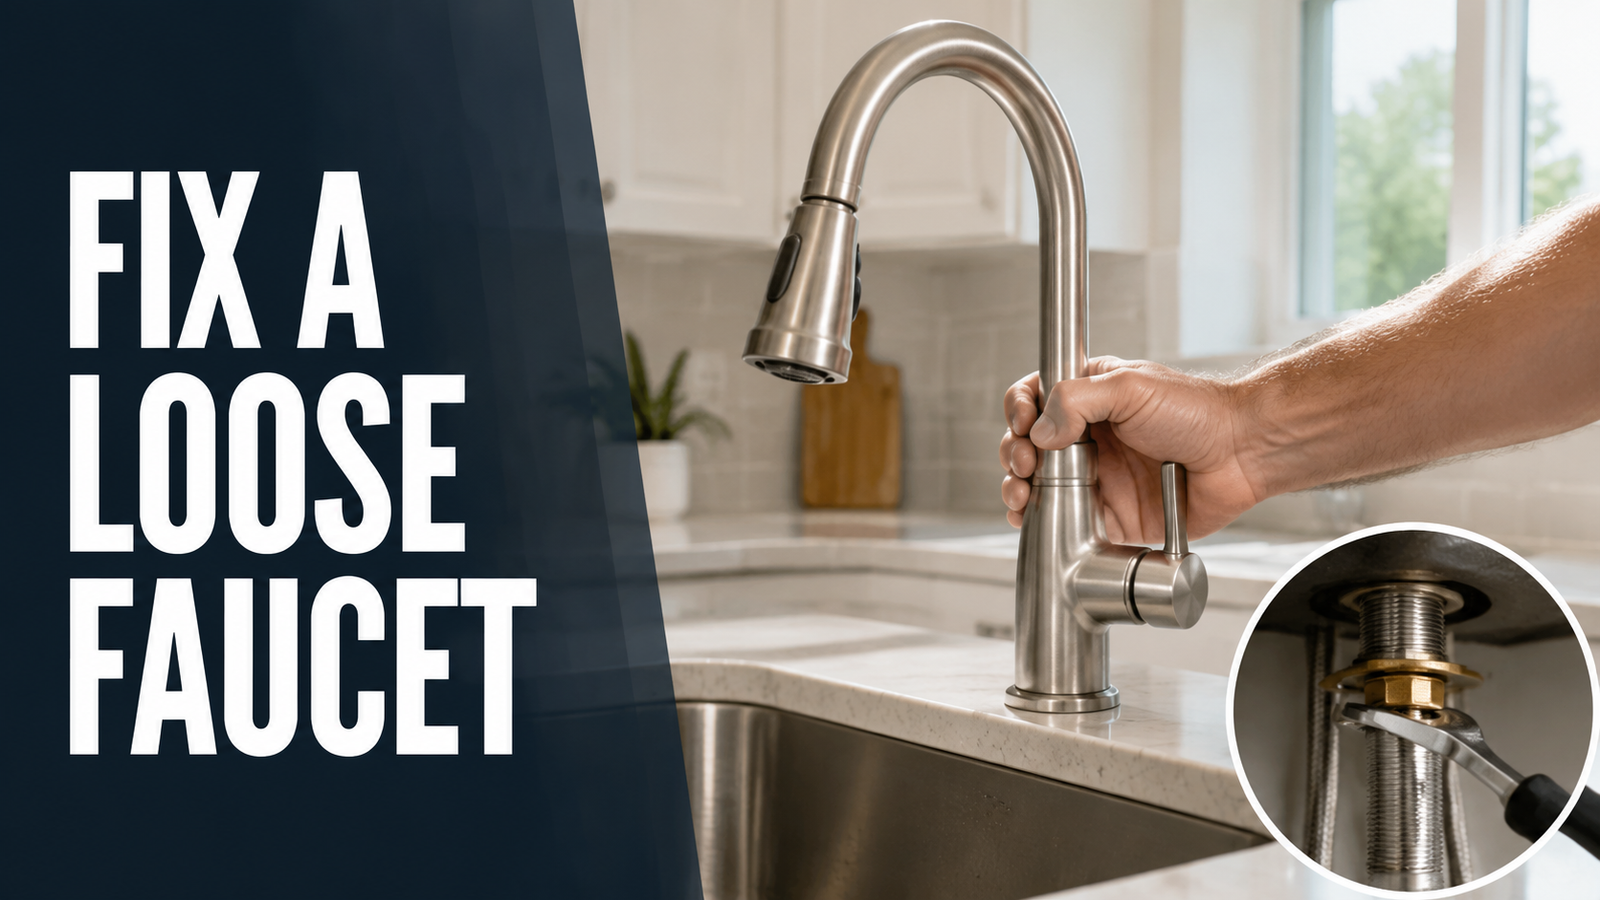
A loose kitchen faucet can often be secured by tightening its mounting hardware, but the correct method depends on the faucet’s design. Some models use a large mounting nut, others use a bracket with screws, and some are tightened from above the countertop.
Before reaching for a wrench, determine whether the entire faucet base is moving or only the handle or swivel spout feels loose. These symptoms involve different parts. Tightening the wrong fastener can restrict movement, damage the mounting surface, or place unnecessary stress on the water-supply lines.
Identify Which Part of the Faucet Is Loose
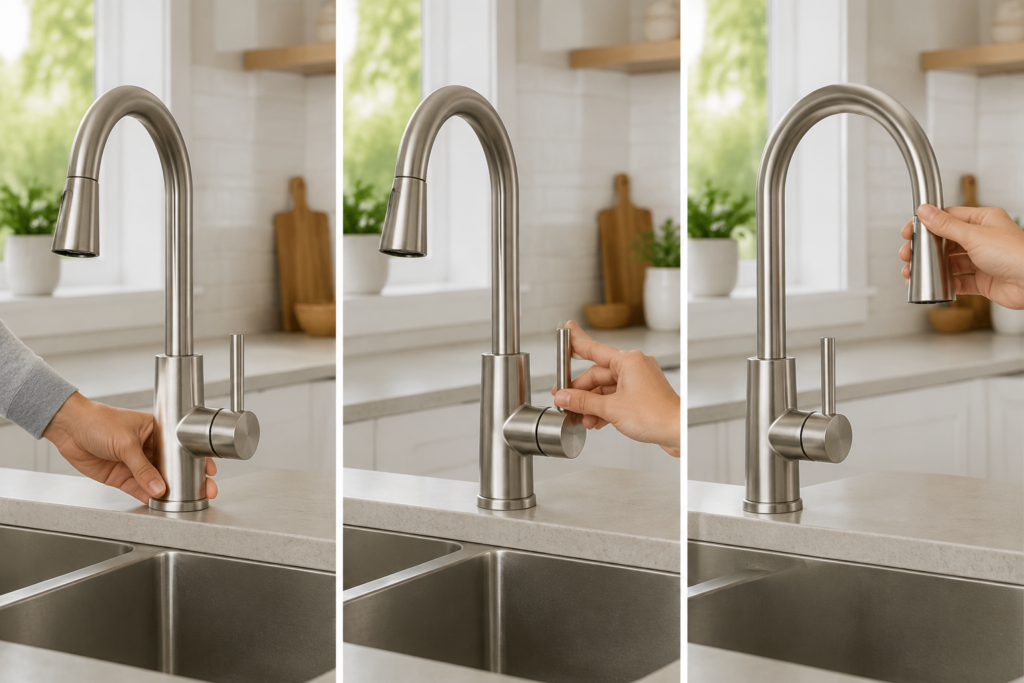
Hold the faucet close to its base and move it gently while watching where it meets the sink or countertop.
- The entire faucet moves against the sink: The mounting nut, bracket, or mounting screws may be loose.
- Only the handle moves: The handle set screw, adapter, or internal handle connection may be loose.
- The spout feels unstable: The problem may involve a retaining collar, bearing, or seal rather than the mounting hardware.
- The sink or countertop flexes: The mounting surface may need reinforcement or repair.
- Water appears beneath the sink: Locate the leak before treating the problem as ordinary faucet looseness.
A swivel spout is designed to rotate. The goal is to secure the faucet base without preventing normal spout movement.
Check the Faucet Model and Mounting Design
Look beneath the sink, on the supply-line identification tag, or in the original paperwork for a brand and model number. Use that information to find the official installation or service instructions.
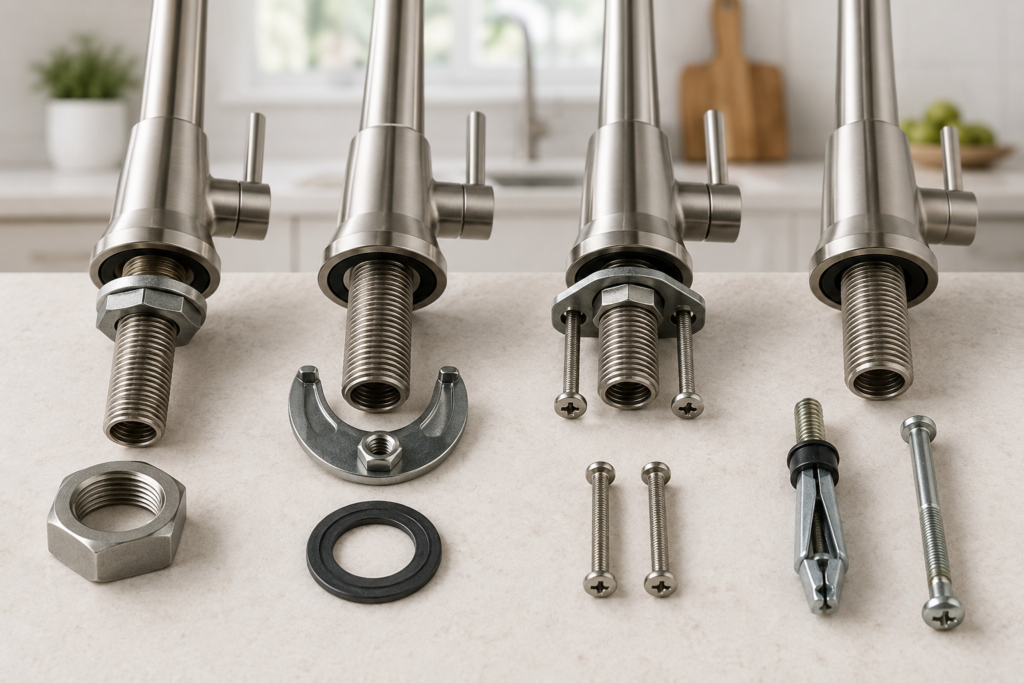
This matters because faucet mounting systems are not universal. One official Delta installation guide, for example, shows a mounting washer, nut, and separate screws, while another Delta design uses a U-shaped bracket and a mounting nut. Other products may use two mounting shanks or an above-deck fastener.
Do not assume that a visible hex screw near the handle secures the complete faucet to the countertop. On many faucets, that screw holds only the handle or another upper component.
If the model cannot be identified, inspect the mounting arrangement carefully and avoid disassembling unfamiliar plumbing or electrical components.
Tools You May Need
The exact tool depends on the faucet’s mounting design. Useful options may include:
- Flashlight or headlamp
- Towels and a shallow container
- Manufacturer-supplied installation tool
- Basin wrench
- Adjustable wrench
- Phillips or flat-head screwdriver
- Correctly sized hex key
- Work gloves and eye protection
Avoid using pliers directly on finished surfaces. Do not use caulk, adhesive, or thread-locking fluid as a substitute for damaged or missing mounting hardware unless the faucet manufacturer specifically approves it.
How to Tighten a Loose Kitchen Faucet
1. Clear and Inspect the Area Beneath the Sink
Remove stored items and place a towel beneath the faucet connections. Use a flashlight to inspect:
- Hot- and cold-water supply lines
- Pull-down sprayer hose and hose weight
- Electrical components on touch-activated faucets
- Mounting bracket, washer, nut, and screws
- The underside of the sink or countertop
- Signs of dripping, corrosion, cracking, or water damage
If a connection is actively leaking, heavily corroded, or difficult to identify, correct that problem before tightening the faucet.
2. Shut Off the Water Supply
Close the hot- and cold-water shutoff valves beneath the sink before applying force near the faucet’s mounting hardware and plumbing connections.
Open the faucet briefly to confirm that the flow stops and to relieve remaining pressure. Do not force a shutoff valve that is seized, badly corroded, or begins leaking when turned.
If the valves do not operate properly, stop and arrange the appropriate repair before continuing.
3. Identify the Mounting Hardware
Look directly beneath the point where the faucet enters the sink or countertop. Common arrangements include:
- A single large mounting nut
- A nut holding a U-shaped or crescent-shaped bracket
- A mounting nut with separate tightening screws
- Two mounting shanks on a two-handle faucet
- A manufacturer-specific mounting assembly
- An above-deck fastener accessed from the top
Check that the washers and brackets are present, correctly oriented, and sitting flat. Do not disconnect supply lines unless the manufacturer’s procedure requires it.
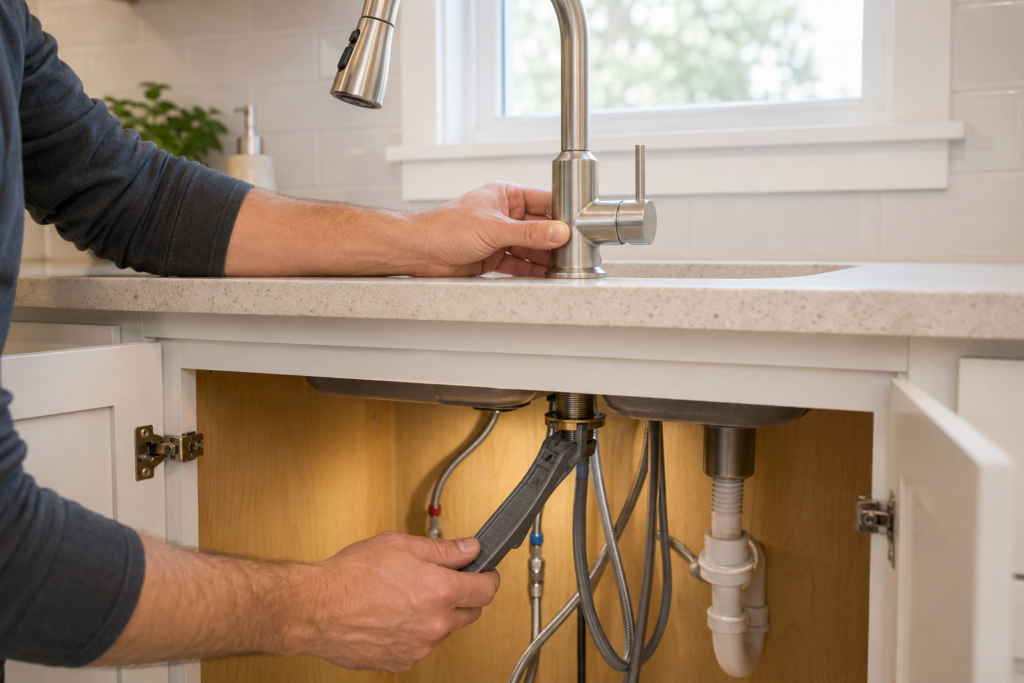
4. Center and Support the Faucet
Have another person hold the faucet in its correct position from above when possible. If you are working alone, tighten the mounting hardware gradually and return above the sink frequently to check the faucet’s alignment.
Confirm that supply lines, pull-down hoses, and electrical wires are not twisted, pinched, or trapped between the mounting bracket and the sink.
5. Tighten the Correct Hardware Gradually
Use the tool specified for the mounting system. Tighten the nut or screws in small increments while checking the faucet from above.
The mounting hardware should be secure enough to prevent movement at the base, but more force is not necessarily better. Excessive tightening can damage threads, distort a bracket, crack a vulnerable sink surface, or interfere with normal faucet operation.
Moen’s troubleshooting guidance notes that an excessively tightened mounting nut can make the spout on some pullout or pulldown faucets difficult to rotate.
Stop tightening if:
- The nut turns without becoming secure
- The mounting stud rotates with the nut
- The bracket bends or will not sit flat
- The sink or countertop begins flexing
- Plastic components crack or deform
- Supply lines twist or pull tight
6. Test the Faucet From Above
Gently test the faucet base. It should remain stable while the handle and swivel spout continue to operate normally.
If the base still moves, inspect for:
- Missing or damaged washers
- Stripped mounting threads
- An incorrectly positioned bracket
- Corroded mounting hardware
- An oversized mounting hole
- A thin or damaged sink deck
- A missing support plate
Repeatedly tightening compromised hardware is not a lasting repair. Obtain the correct replacement parts for the faucet model or have the mounting surface evaluated.
7. Restore the Water and Check for Leaks
Confirm that no tools remain beneath the sink, then slowly reopen the shutoff valves.
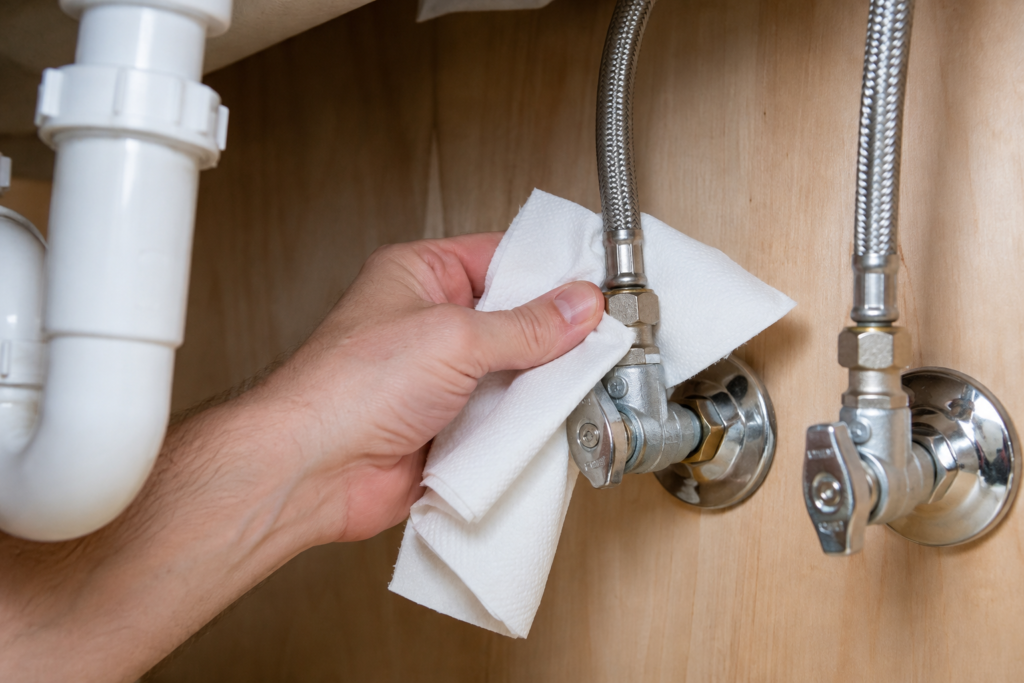
Run the faucet while inspecting every accessible supply connection. Move a dry paper towel around each fitting to help reveal small amounts of moisture. Operate the handle and swivel the spout while confirming that hoses move freely without rubbing, pinching, or pulling against a connection.
Check beneath the sink again after the faucet has been used normally. A dry inspection immediately after tightening may not reveal a slow or intermittent leak.
What If Only the Handle Is Loose?
A loose handle usually involves a handle set screw, adapter, cap, or internal connection—not the mounting nut beneath the sink.
Find the model-specific handle instructions before removing decorative caps or tightening a set screw. Use the correct hex-key size and avoid forcing a corroded fastener.
If the handle remains loose after its fastener is properly tightened, an internal adapter or another component may be worn and require replacement.
When Tightening the Faucet Does Not Work
Stop and consider replacement parts or qualified assistance if you discover:
- Stripped or spinning mounting hardware
- Significant corrosion
- A cracked sink or countertop
- A damaged or leaking supply hose
- Water leaking from the faucet body
- Missing manufacturer-specific components
- Electrical equipment obstructing safe access
- A faucet that repeatedly loosens after proper installation
- Inadequate support beneath the mounting surface
A loose faucet caused by failed hardware or a damaged mounting surface cannot be corrected safely by applying more force.
Add Faucet Checks to Routine Home Maintenance
Occasionally inspecting the space beneath the kitchen sink can reveal moisture, corrosion, strained hoses, and loose mounting hardware before the damage spreads.
For a broader inspection schedule covering plumbing, drainage, HVAC equipment, alarms, and exterior areas, use a simple home maintenance checklist for every season.
simple home maintenance checklist for every season
Frequently Asked Questions
Q. Can every loose kitchen faucet be tightened with an Allen wrench?
A. No. A hex key may tighten a handle set screw or a particular mounting system, but many faucets use a large mounting nut, bracket, screws, basin wrench, or manufacturer-specific installation tool.
Q. Do I need to disconnect the water lines?
A. Usually not when you are only tightening accessible mounting hardware. Shut off the water before working near the plumbing connections, and disconnect a line only when the manufacturer’s procedure requires it.
Q. How tight should the faucet mounting nut be?
A. It should hold the faucet base securely without distorting the bracket, damaging the mounting surface, or restricting normal spout movement. Follow the product instructions rather than relying on a universal number of wrench turns.
Q. Why does my kitchen faucet keep becoming loose?
A. Possible causes include damaged threads, missing washers, an incorrectly seated bracket, corrosion, inadequate support, or mounting hardware that does not match the faucet. Identify the cause rather than repeatedly overtightening the same nut.
Q. Can a loose faucet cause a leak?
A. Continued movement may strain supply lines, fittings, seals, or the area around the mounting hole. Looseness does not prove that a leak exists, but the connections should be inspected after the faucet is secured.
Conclusion
Fixing a loose kitchen faucet begins with identifying what is actually moving. Confirm whether the problem involves the complete faucet base, handle, or swivel spout, then check the manufacturer’s mounting instructions before tightening anything.
Secure the correct mounting hardware gradually, keep hoses and wiring free from pressure, and inspect for leaks after restoring the water. If the mounting parts are stripped, corroded, missing, or attached to a damaged sink or countertop, replacement hardware or qualified assistance is safer than applying additional force.