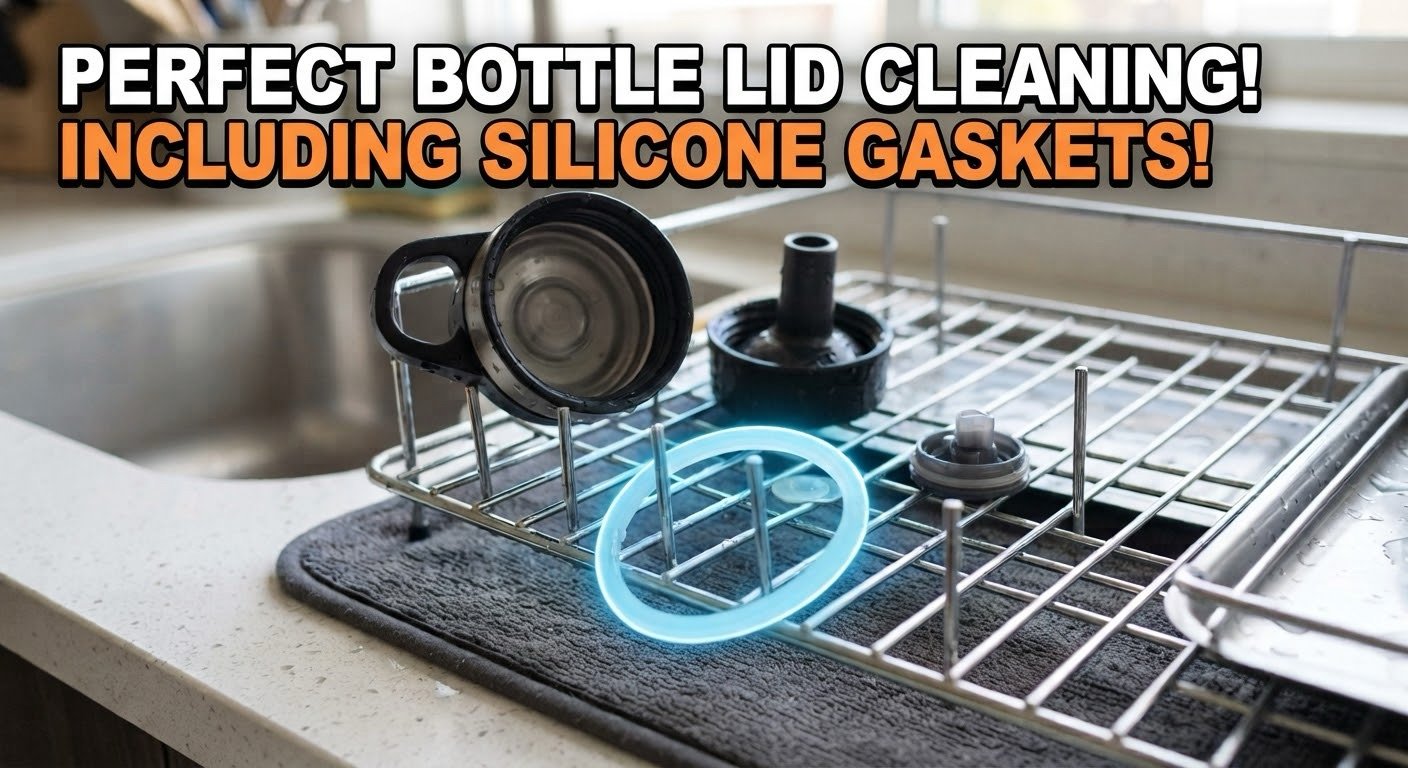
To clean a reusable water bottle lid and silicone gasket, first check the manufacturer’s instructions and remove only the parts designed to come out. Wash the lid, removable gasket, straw, and mouthpiece separately with warm water, mild dish soap, and appropriately sized soft brushes. Rinse every surface, let all components air-dry completely, and reinstall the gasket in its original orientation.
The bottle body is often the easiest part to clean. Odor and residue are more likely to remain inside the lid’s gasket channel, drinking spout, slider, pressure valve, or straw connection. A careful cleaning routine reaches those hidden areas without stretching the seal or damaging a part that was never intended to be removed.
Why the Lid Needs More Attention Than the Bottle Body
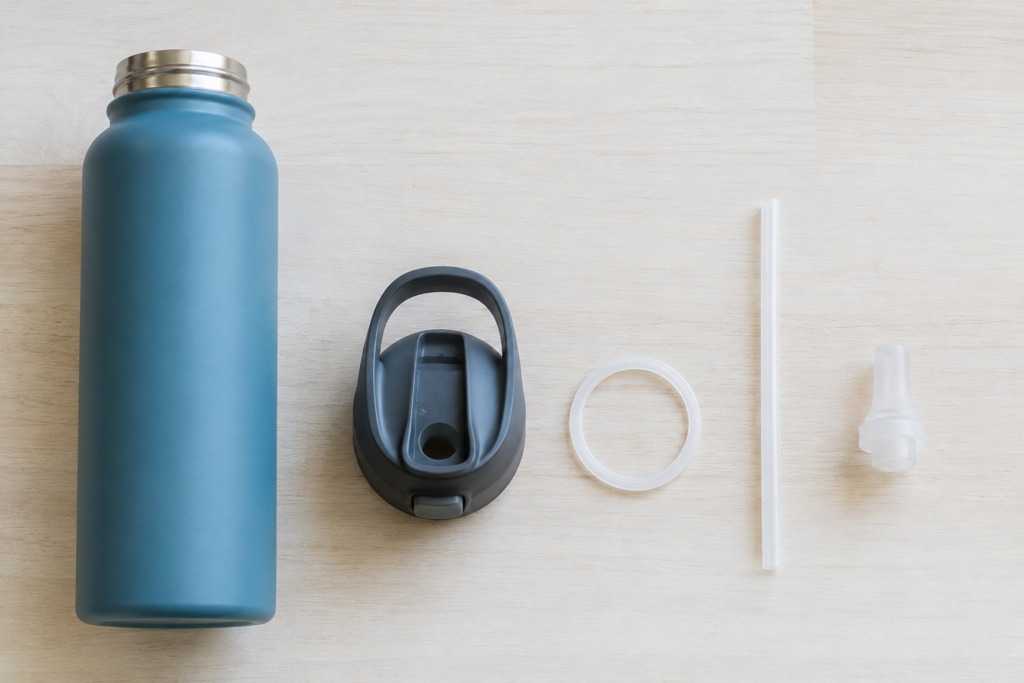
A silicone gasket compresses between the lid and bottle to help prevent leaks. That tight fit also creates a narrow groove where moisture and traces of a drink can remain. Flip spouts, bite valves, sliders, and straw ports add more corners that a regular bottle brush may not reach.
Plain water can still leave moisture around the seal. Drinks containing sugar, milk, protein powder, juice, or flavoring can leave more noticeable residue and should be cleaned promptly rather than allowed to dry inside the lid.
North Dakota State University Extension advises washing reusable water bottles daily and cleaning beneath lid gaskets and inside crevices with hot, soapy water. The exact disassembly method, however, must come from the bottle manufacturer because apparently similar lids may contain very different parts.
Check the Lid Design Before Taking It Apart
Do not begin by prying at every piece of silicone you can see. Some seals are removable; others are fixed valves that can tear or stop functioning if pulled out.
Before disassembly:
- Find the model name on the bottle, packaging, order history, or manufacturer’s website.
- Look for an official cleaning or lid-disassembly guide.
- Take a quick photo of the assembled lid so you can match the gasket’s direction later.
- Work over a towel or plugged basin so a small seal does not disappear down the drain.
- Notice whether the gasket has a pull tab, flat side, ridge, lip, or other orientation feature.
Manufacturer directions illustrate why this check matters. Owala instructs owners to remove certain spout gaskets using their pull tabs, while YETI warns users not to remove the small pressure-valve gasket on a specific cap design. Hydro Flask publishes separate instructions for different lids and caps rather than one universal procedure.
If you cannot identify the model and a seal does not release with light pressure, leave it in place. Clean around it with a soft detail brush and contact the manufacturer before using a sharp tool or additional force.
What You Will Need
For routine hand-washing, gather:
- Mild liquid dish soap
- Warm water
- A clean soft-bristled bottle brush
- A narrow straw brush or small detail brush
- A soft sponge or clean cloth
- A clean drying rack or unused absorbent surface
- A blunt plastic gasket tool only if the manufacturer recommends one
Avoid knives, needles, metal picks, and abrasive scrubbers. They can cut silicone, scratch plastic, or create damage that traps more residue. A cotton swab may help inspect a groove, but a washable brush is more useful for scrubbing and rinsing narrow channels.
How to Clean a Reusable Water Bottle Lid and Silicone Gasket
1. Empty and rinse the bottle
Discard the remaining drink and rinse the bottle, lid, and straw rather than leaving old liquid sealed inside.
If the bottle held something other than water, move soapy water through every path the drink followed, including the straw, valve, and mouthpiece.
2. Disassemble only the removable components
Remove the lid from the bottle. Following the model-specific instructions, separate the straw, slider, mouthpiece insert, and removable gasket.
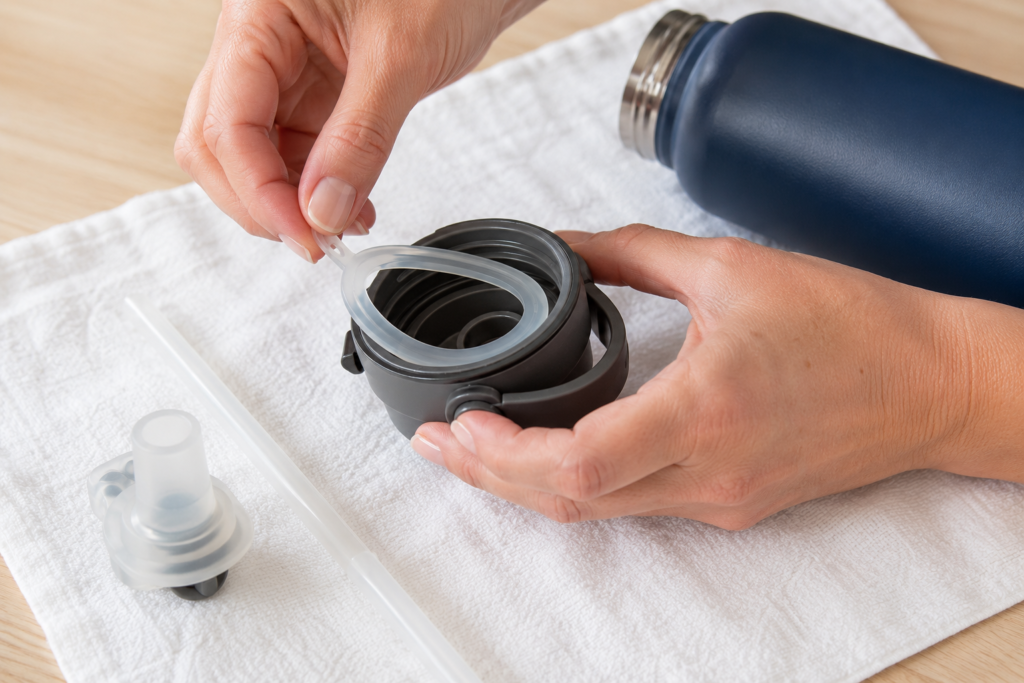
Lift a removable gasket from its designated tab or approved removal point. Avoid pulling aggressively because silicone can stretch. Lay the components in order.
3. Wash the lid and drinking channels
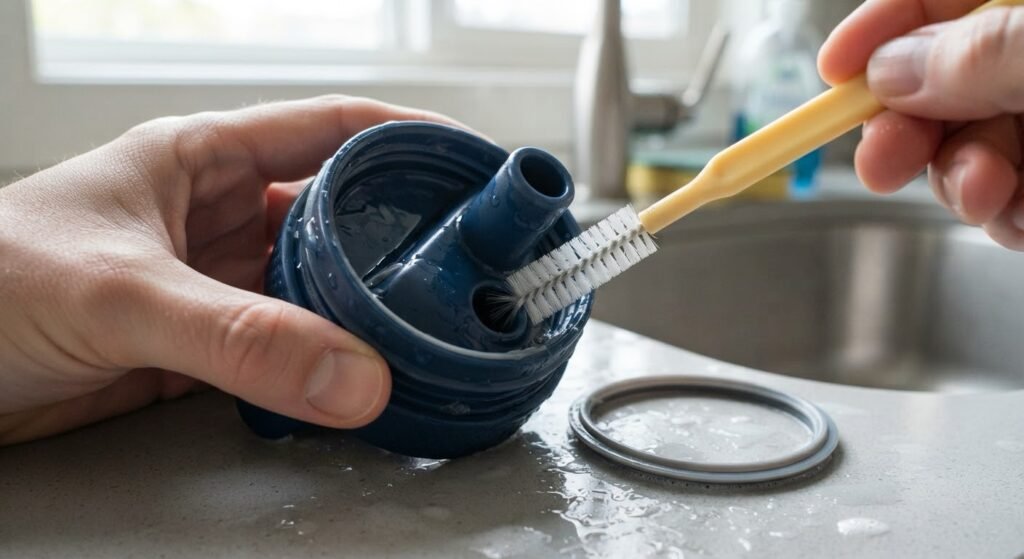
Add a small amount of mild dish soap to warm water. Scrub the top and underside of the lid, then open the spout or slider and work the brush through every accessible channel.
Use a straw brush for long, narrow passages. Move soapy water through valves and spouts instead of cleaning only the visible opening. Pay particular attention to hinges and the point where a straw connects to the lid.
4. Clean the gasket and its groove separately
Gently wash both sides of the removable gasket with your fingers or a soft brush. Bending it slightly can expose residue along the edges, but do not stretch it out of shape.
Next, scrub the empty gasket groove. This step is easy to miss: cleaning the silicone ring but leaving residue in its channel can allow the odor to return as soon as the lid is reassembled.
5. Rinse and inspect every part
Rinse until no foam or slippery soap film remains. Hold the gasket under good light and check its edges and underside. Inspect the lid groove, mouthpiece, and valve from more than one angle.
A stain alone does not identify its cause. If visible material brushes away, repeat the wash and rinse. If a spot appears embedded or the odor persists after proper cleaning, replacement may be more practical.
6. Air-dry everything separately
Place the components on a clean rack with openings facing down or sideways so trapped water can drain. Leave the gasket out of the lid and keep flip spouts open until every recess is dry.
Do not reassemble the lid while moisture remains in the groove. Closing damp components together recreates the condition that caused many odors in the first place.
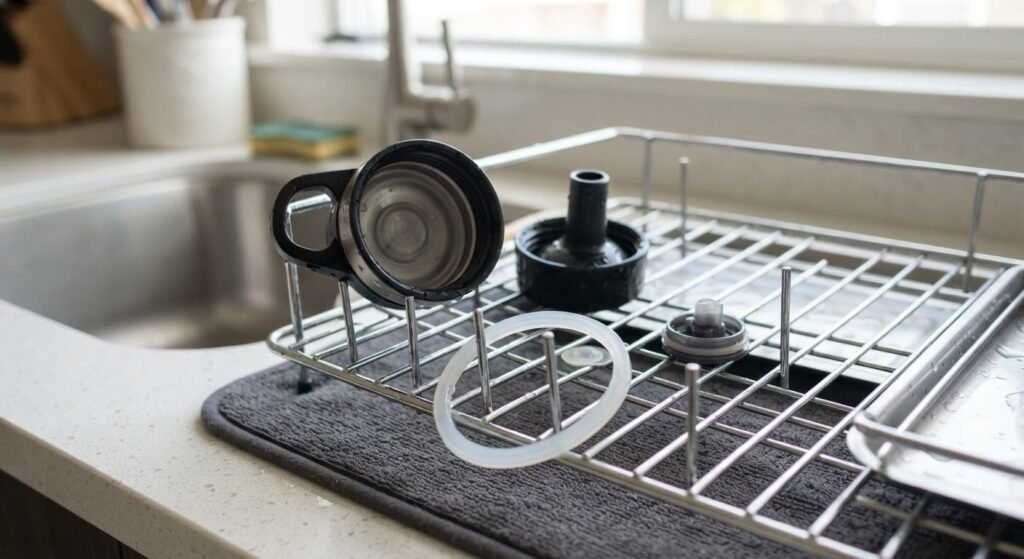
7. Reinstall the gasket and test the lid
Compare the gasket with the photo you took before cleaning. Seat it evenly in the groove without twists, bulges, or pinched edges. Reinstall the other parts in the manufacturer’s specified order.
Fill the bottle with a small amount of water, close it, and tilt it over the sink. If it leaks, reopen the lid and check the gasket orientation before assuming the seal is defective.
Dishwasher, Boiling, and Stronger Cleaners
There is no universal deep-cleaning method for bottle lids and silicone seals.
The same construction checks matter when you remove food odors from silicone kitchen utensils, especially when wood, plastic, or adhesive is attached
Some manufacturers allow lids and gaskets on the dishwasher’s top rack, while others restrict particular components. Secure small removable pieces in a closed utensil basket when directed. Check the exact model and generation because newer and older versions may differ.
Boiling is also model-specific. Heat-safe silicone does not prove that the entire lid assembly, valve, or straw can be boiled.
Avoid bleach, chlorine cleaners, denture tablets, alcohol, vinegar, baking soda, or dishwasher tablets unless the manufacturer approves them for that component. YETI, for example, tells owners not to use bleach or abrasive cleaners on its Rambler drinkware. Never mix bleach with vinegar, ammonia, or other cleaners.
If ordinary washing does not correct the problem, consult the care guide before trying a soak or sanitizing treatment. Replacing an inexpensive gasket is preferable to experimenting with chemicals or heat that may deform the seal.
Troubleshooting After Cleaning
The lid still smells when it gets wet
Recheck the gasket groove, straw connector, hinge, and any removable slider. Odor that reappears with moisture often indicates that a concealed surface was not fully washed or dried. If the smell remains after a second complete cleaning, replace the removable gasket or lid as appropriate.
The bottle leaks after reassembly
The gasket may be upside down, twisted, unevenly seated, or paired with the wrong lid. Compare it with the manufacturer’s diagram and your original photo. A stretched, cracked, swollen, or torn seal should be replaced with a compatible part.
The mouthpiece is difficult to open or close
Check for a misaligned slider, valve, or gasket before applying force. Soap residue can also make components feel slippery or interfere with movement, so rinse again. Stop if a hinge or locking tab appears bent or damaged.
Dark spots remain after scrubbing
Color alone cannot confirm that a spot is mold. Wash and inspect the part under bright light. If the material cannot be removed from a food-contact surface, continues to spread, or sits inside damaged silicone, discontinue use and obtain a replacement part from the manufacturer.
Keeping the Lid Cleaner Between Deep Washes
Wash the bottle and lid after each day of normal use and promptly after beverages that leave residue. At minimum, empty the bottle rather than allowing an unfinished drink to remain sealed for an extended period.
Let the lid dry open and store the bottle without trapping the last traces of moisture inside. Keep a narrow brush where you wash the bottle so the spout and straw receive attention during routine cleaning rather than only when an odor appears.
Frequently Asked Questions
Q. Can every silicone gasket be removed from a water bottle lid?
A. No. Some are designed for removal, while small pressure valves and molded seals may be fixed. Use the instructions for the exact lid and stop if a seal does not release with light pressure.
Q. Can I put the lid and gasket in the dishwasher?
A. Only if the manufacturer identifies those components as dishwasher-safe. Follow the recommended rack position and secure small pieces in a closed basket. Hand-washing remains the safer default when the model is unknown.
Q. Why did my bottle start leaking after I cleaned the gasket?
A. The seal may be reversed, twisted, incompletely seated, or stretched. Reinstall it using the original photo or official diagram. Replace it if it no longer sits flat or shows physical damage.
Q. When should I replace the silicone gasket?
A. Replacement is reasonable when the gasket is torn, cracked, permanently stretched, no longer seals, retains material that cannot be cleaned away, or continues to smell after proper washing and complete drying. Use a replacement made for the exact lid model.
Conclusion
Cleaning a reusable water bottle lid properly means reaching the surfaces hidden beneath the silicone gasket and inside the drinking path. Identify the lid first, remove only approved parts, wash the groove and seal separately, and let everything dry before reassembly. If the gasket remains damaged, odorous, or unable to seal after careful cleaning, replace it rather than forcing a harsher method.