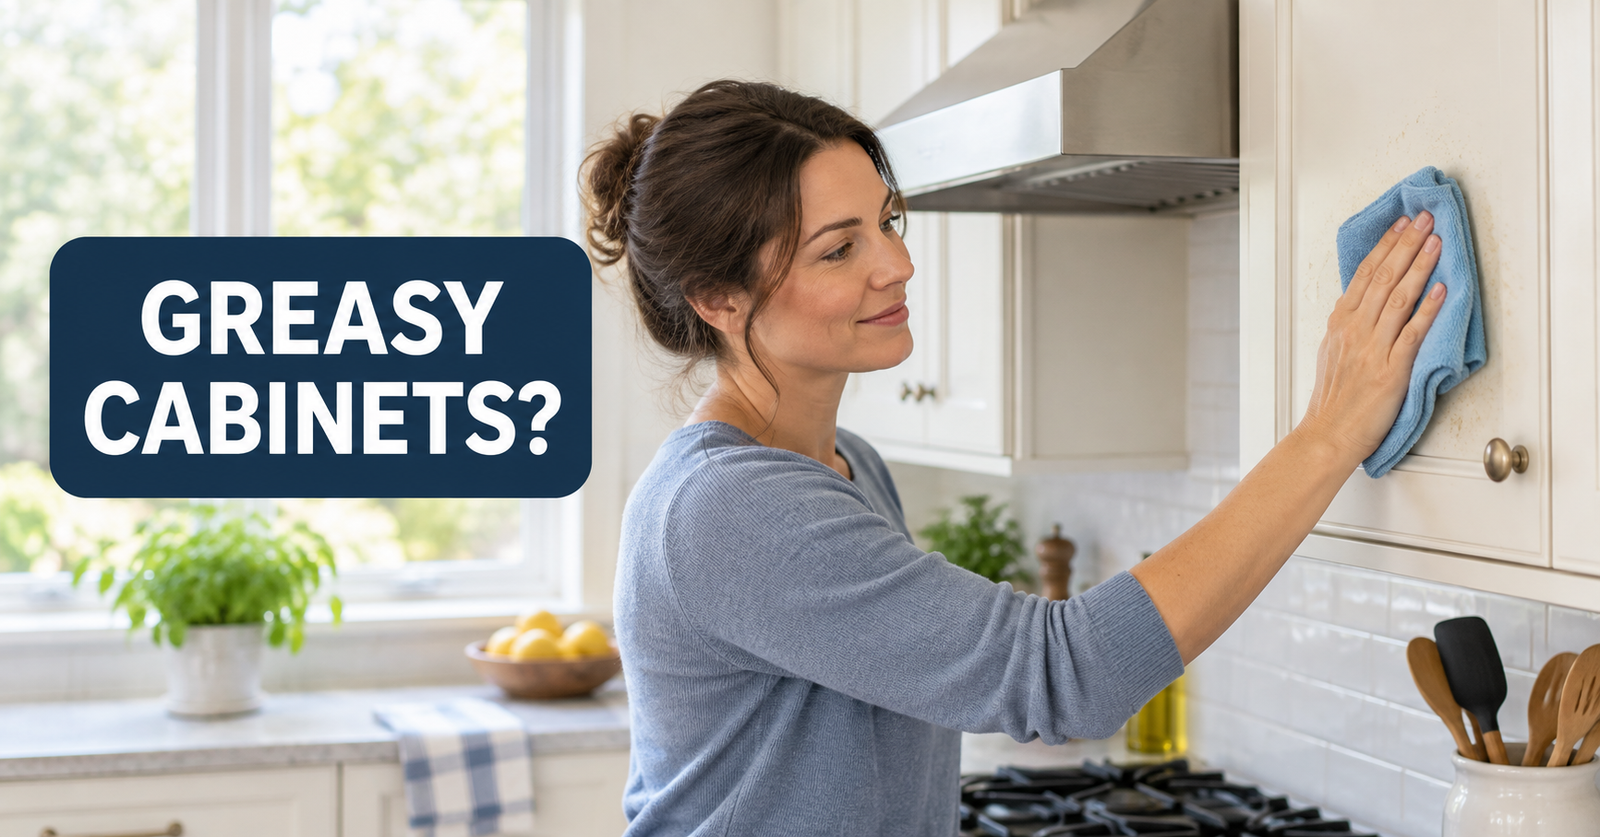
Greasy kitchen cabinets usually do not require a strong degreaser. Start with a soft cloth wrung nearly dry in warm water mixed with a small amount of mild hand-dishwashing liquid. Clean a small section, remove the soap with a second damp cloth, and dry the finish immediately.
The important part is identifying the cabinet surface before cleaning. A method that works on laminate may dull paint, soften a waxed finish, or allow moisture beneath lifting thermofoil.
Identify the Cabinet Finish Before Cleaning
Look for the cabinet manufacturer’s label inside a door, drawer, or sink-base cabinet. If you can identify the brand or product line, follow its care instructions first.
If the finish is unknown, use only the mild method described below and test it in a concealed spot.
Painted or Stained Wood Cabinets
Factory-painted and sealed wood cabinets can often be cleaned with a soft, damp cloth. For stubborn grease, a mild detergent diluted in warm water may be appropriate.
KraftMaid’s cabinet care guidance recommends working on a small area at a time and drying the surface immediately. However, refinished, antique, hand-painted, and custom cabinets may require different care.
Laminate, Melamine, and Thermofoil Cabinets
These surfaces may tolerate mild soap and water, but their seams and edges remain vulnerable to moisture.
Formica’s laminate care instructions call for a clean, nonabrasive cloth, mild liquid detergent, a clean-water rinse, and thorough drying. The company also warns against flooding laminate, especially around seams, because water can reach the material underneath.
High-gloss foil can show scratches and dull patches more easily. One manufacturer’s instructions for a high-gloss foil door recommend a water-dampened microfiber cloth and mild detergent only for more difficult stains. Check the care instructions for your specific cabinet before using anything stronger.
Unfinished, Waxed, Oiled, or Damaged Cabinets
Do not assume the standard soap-and-water method is suitable for unfinished wood or a specialty waxed or oiled finish. Water may darken raw wood, and ordinary detergent can disturb some specialty coatings.
Stop and obtain manufacturer or refinisher guidance if the surface is already peeling, cracked, cloudy, soft, or swollen.
What You Need
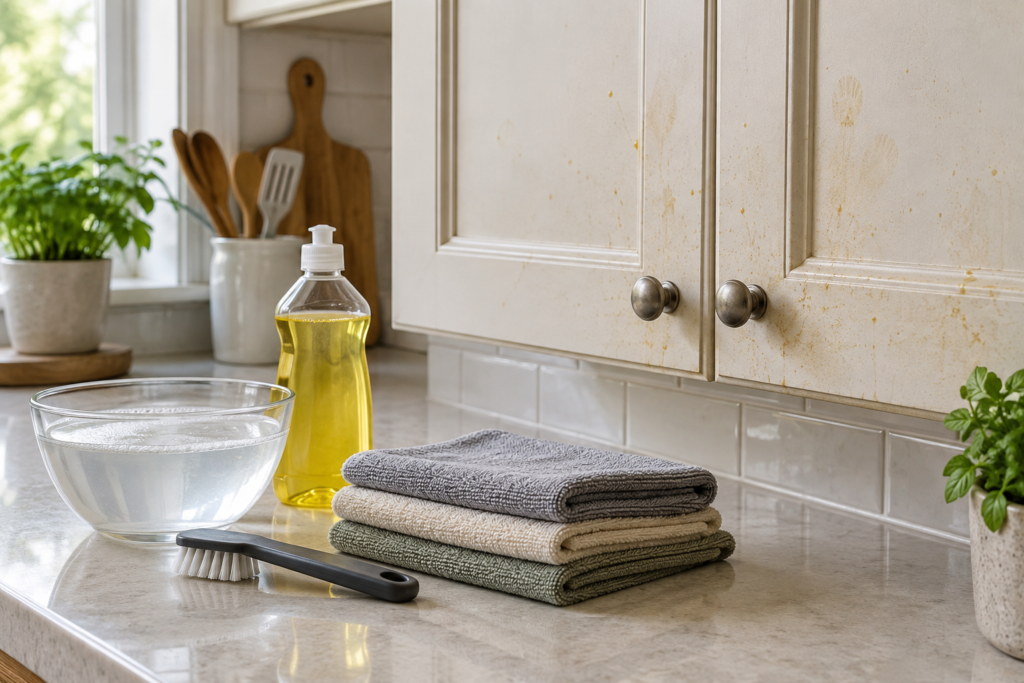
Gather the following:
- Mild hand-dishwashing liquid, not automatic dishwasher detergent
- Warm water
- One soft cloth for washing
- One clean cloth for removing soap residue
- One dry, lint-free cloth
- A cotton swab or very soft brush for recessed details
- A towel to protect the countertop or floor
Using separate cloths prevents grease collected by the washing cloth from being spread back over the cabinet. If you need a dedicated set, washable microfiber cleaning cloths washable microfiber cleaning cloths can be used for the washing, rinsing, and drying stages.
How to Clean Greasy Kitchen Cabinets Safely
1. Turn Off Nearby Appliances and Let Them Cool
Turn off the cooktop and oven before cleaning cabinets around them. Wait until nearby surfaces are cool, and keep moisture away from outlets, switches, under-cabinet lighting, and appliance controls.
Do not mix cleaning products. The CDC’s household cleaning guidance advises following product labels, providing ventilation when required, and never mixing cleaning or disinfecting chemicals.
2. Remove Dust and Loose Debris
Wipe the cabinet with a clean, dry cloth before adding moisture. Dust and crumbs can create unnecessary friction when rubbed across paint or a glossy finish.
Pay attention to the top edges of doors, molding, recessed panels, and the area around handles.
3. Prepare a Mild Cleaning Solution
Add a small amount of mild hand-dishwashing liquid to warm water. The solution should be lightly soapy rather than heavily sudsy.
Do not pour or spray the solution directly onto the cabinet. Wet the cleaning cloth and wring it thoroughly so it feels damp but does not drip.
4. Test a Hidden Area
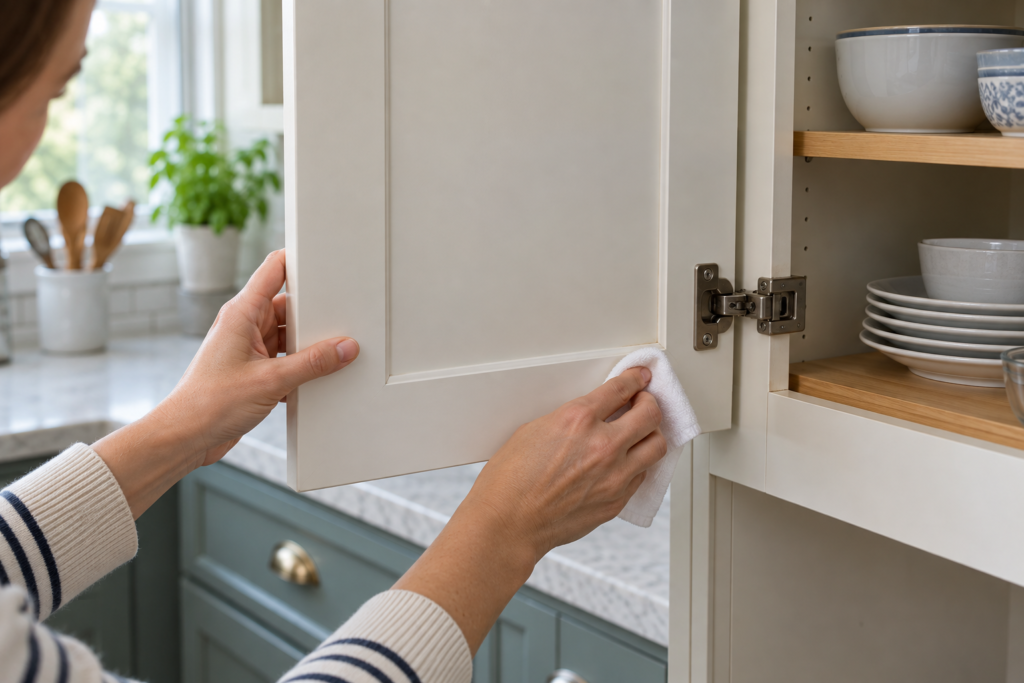
Open a cabinet door and test the solution on a small lower corner of the inside surface. Wipe gently, remove any soap with a second damp cloth, and dry the area.
Wait until the test spot is fully dry before examining it. Stop if you notice:
- Cabinet color transferring to the cloth
- A change in gloss
- A cloudy or pale mark
- Softening or tackiness
- Swelling, lifting, or peeling
5. Work in Small Sections
Wipe one small area at a time using light pressure. Where a wood grain is visible, follow its direction.
Grease often collects around handles, above the cooktop, and along the lower edges of upper cabinets. Several gentle passes are safer than trying to remove the entire layer with force.
Keep the cloth away from open seams and wring it again whenever it becomes too wet.
6. Clean Handles and Recessed Details Carefully
Wipe knobs and pulls with mild soap and water, then dry the hardware and the area around it. Avoid allowing liquid to run behind hardware or into screw holes.
A cotton swab or an old, clean, soft-bristled toothbrush can reach many grooves. For larger recessed areas, a soft nylon detail brush soft nylon detail brush may make gentle cleaning easier. Do not use a stiff brush on paint, foil, or a glossy finish.
7. Remove Soap and Dry Immediately
Wipe the cleaned section with a separate cloth lightly dampened with clean water. This removes detergent that could otherwise leave streaks or a sticky residue.
Immediately follow with a dry, lint-free cloth. Check corners, seams, trim, and the area around hardware for trapped moisture before moving to the next section.
What to Do If the Grease Remains
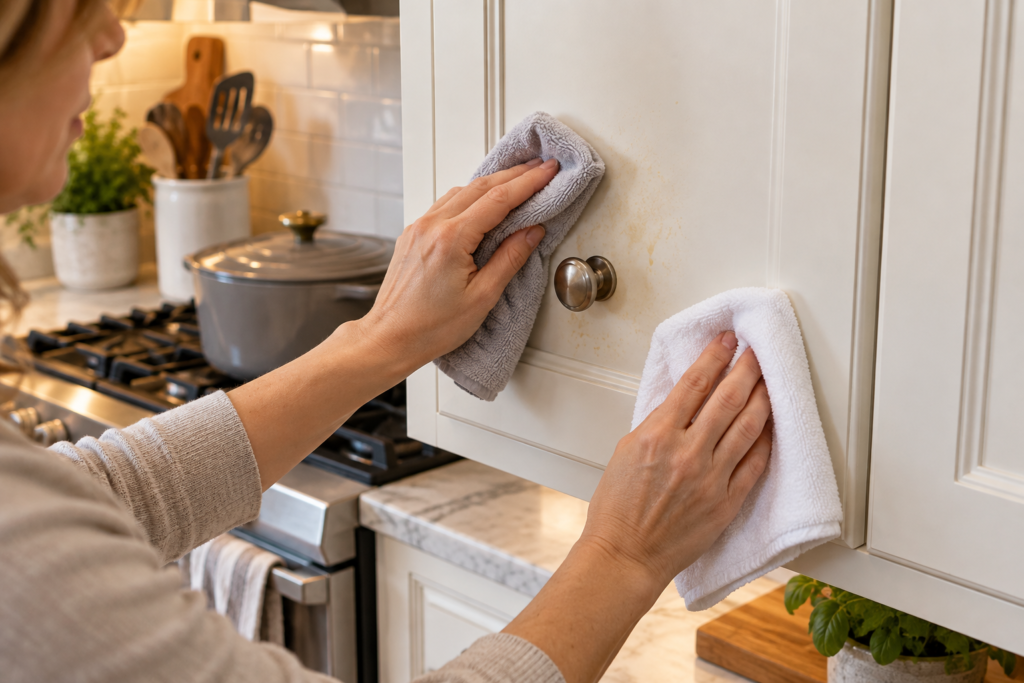
Reapply the mild solution and give it brief contact with the greasy spot without allowing it to dry. Wipe gently, rinse, and dry again.
If the surface still feels sticky, determine whether the residue is actually grease. Old polish, wax buildup, softened paint, and deteriorating coatings can all feel greasy. Increasing the scrubbing pressure or switching immediately to a solvent may make the damage worse.
Use a commercial degreaser only if the cabinet manufacturer identifies it as suitable for that exact material and finish. Follow its label and repeat the hidden-area test.
Cleaners and Methods That Can Damage the Finish
Unless the cabinet manufacturer specifically approves them, avoid:
- Oven cleaner
- Scouring pads and abrasive powders
- Melamine foam cleaning pads
- Baking soda pastes
- Undiluted vinegar
- Ammonia, bleach, or solvents
- Steam cleaners
- Furniture waxes, oils, or polishes
- Direct spraying
- Excessive water or prolonged soaking
Even a product described as natural can damage paint, wood, foil, adhesive, or metal hardware. Abrasive products may remove grease while also changing the surface sheen.
Signs You Should Stop Cleaning
Stop and seek guidance from the cabinet manufacturer, landlord, refinisher, or cabinet professional if:
- Paint or stain transfers to the cloth
- The finish becomes dull, cloudy, soft, or sticky
- Thermofoil or edge banding is lifting
- Laminate seams are swollen
- Wood is darkened, cracked, or exposed
- Grease appears to be embedded beneath a damaged coating
- Water damage or an active leak is present
If swelling or staining appears near a sink cabinet, check for moisture and small leaks under the kitchen sink before treating it as a cleaning problem.
Renters should report damaged finishes or moisture problems before sanding, refinishing, or removing cabinet components.
How to Slow Down Grease Buildup
Use the range hood according to its manufacturer’s directions while cooking. Once the cooking area has cooled, wipe fresh splatters before they develop into a sticky film.
Clean handles and the cabinets nearest the cooktop whenever they begin to feel tacky rather than waiting for heavy buildup. Do not hang wet towels over cabinet doors, and address leaks around sinks and dishwashers promptly.
Cabinet checks can also be added to a seasonal home maintenance checklist so moisture damage, loose hardware, and early finish problems are easier to notice.
Frequently Asked Questions
Q. Can vinegar remove grease from kitchen cabinets?
Vinegar can affect some paints, finishes, hardware coatings, and adhesives. Do not use it as a universal cabinet cleaner. Use it only when the cabinet manufacturer confirms that it is suitable for the specific surface.
Q. How can I tell whether grease or the finish is coming off?
Test with a white cloth in a concealed area. Yellow or brown residue may be surface grime, but cabinet-colored pigment, gloss changes, tackiness, or visible softening suggest that the finish may be affected. Stop rather than scrubbing harder.
Q. Why do the cabinets still feel sticky after cleaning?
The cleaning solution may not have been fully removed, so try one careful clean-water wipe followed by immediate drying. If the stickiness remains, it may be old polish, accumulated coating residue, or a deteriorating finish rather than ordinary kitchen grease.
Conclusion
Start with the least aggressive method: a barely damp soft cloth, mild hand-dishwashing liquid, a hidden-area test, and immediate drying. If gentle repeat cleaning does not remove the film—or the finish changes—stop before stronger products turn a cleaning problem into permanent cabinet damage.